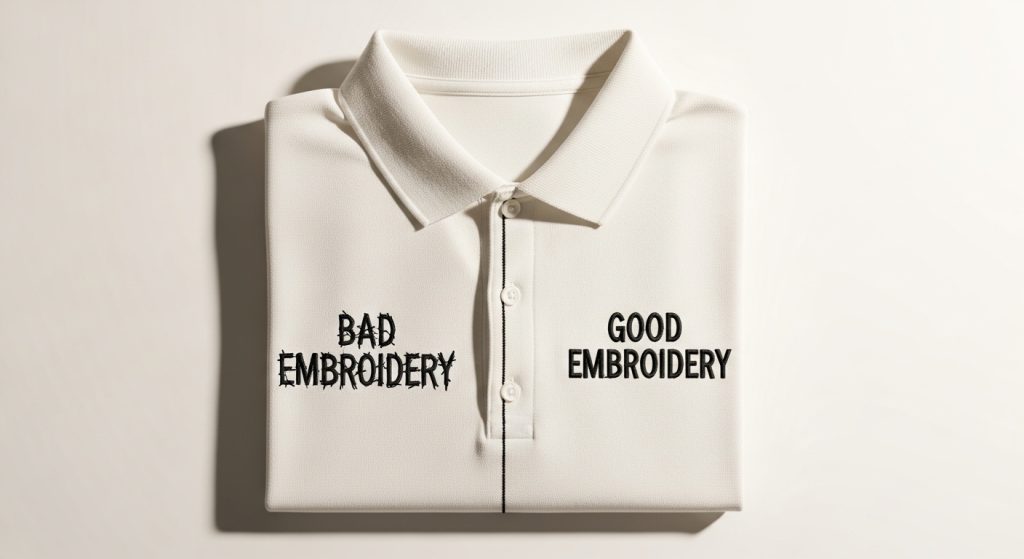
Have you ever run a design and noticed the logo looks a little crooked? Or the wording sits slightly off-center? You are not alone. In fact, this is one of the most common embroidery problems and the good news is that it is almost always fixable.
In this guide, we will explain exactly why your logo and wording come out slightly off in embroidery, and how to fix it the right way.
Why Is Your Logo and Wording Slightly Off in Embroidery?
Simply put, the answer is bad digitizing.
Embroidery is not the same as printing. A printer places ink exactly where you tell it. An embroidery machine, however, pushes thread through fabric and fabric moves. It stretches, compresses, and shifts during stitching.
Therefore, if your digitizing file does not account for this behavior, the final result will look off even if your original logo was perfectly designed.
Cause 1: The Digitizing File Was Auto-Converted
Many people convert their logo using free or cheap auto-conversion tools. These tools simply trace the image and create stitch paths automatically. Unfortunately, they have no understanding of how fabric actually behaves during stitching.
As a result, the letters come out uneven. The spacing looks wrong. The logo does not match your original artwork at all.
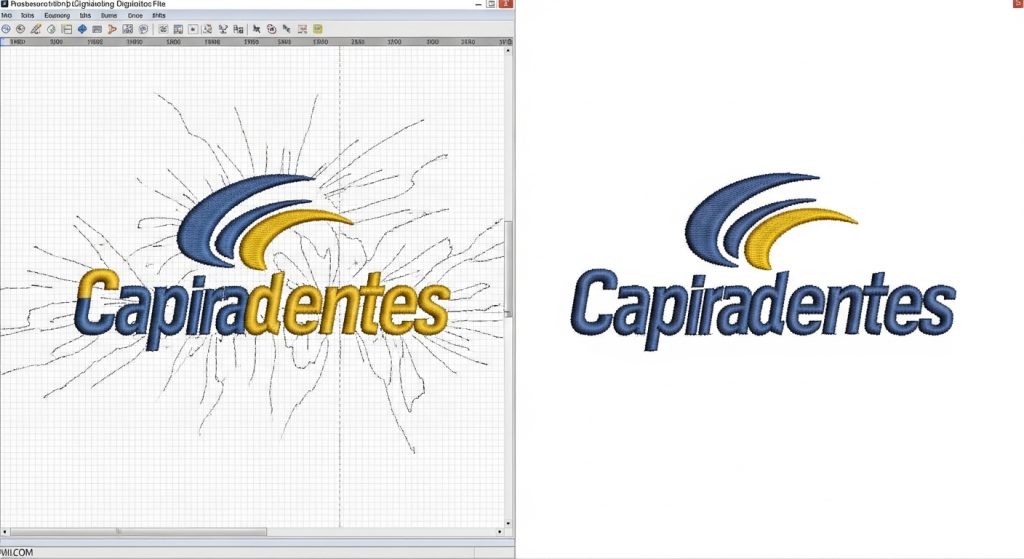
Pro Tip: Auto-conversion is the most common reason logos and wording appear slightly off. Manual digitizing where a skilled person maps every stitch by hand is the only reliable solution.
At Sassy Digitizing, every file goes through manual digitizing using Wilcom software. We never use auto-conversion tools.
Cause 2: Pull Compensation Was Not Set Correctly
When the machine stitches, the thread pulls the fabric slightly inward. Specialists call this effect pull distortion. On thick fabrics like fleece, this effect becomes much stronger.
If the digitizer did not apply the correct pull compensation values for your specific fabric, your lettering will look squished, too thick, or slightly shifted. Additionally, this problem appears even when the file looks completely correct on screen.
For example, the same digitizing file will look different on a polo shirt versus a fleece jacket. Consequently, every fabric type requires its own pull compensation settings.
Cause 3: The Wrong Stitch Type Was Used for Small Text
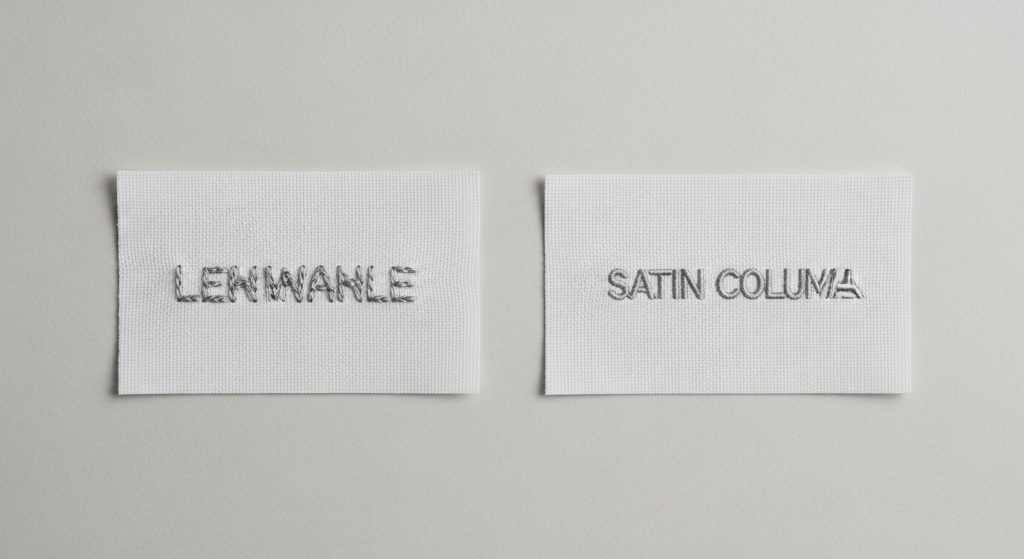
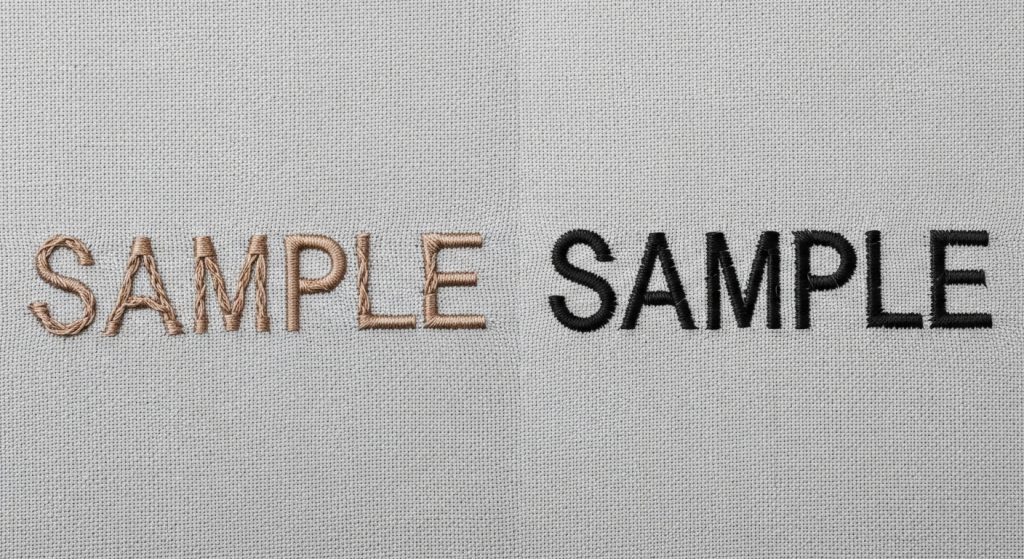
Small lettering is one of the hardest things to digitize well. When the digitizer selects the wrong stitch type for small text, the letters look muddy, closed up, or completely unreadable on the finished garment.
For instance, using a fill stitch on letters smaller than 6mm almost always produces poor results. Instead, small text needs column stitching (satin stitch) with specific width and density settings.
Unfortunately, getting this wrong is extremely common in low-quality or rushed digitizing work.
Cause 4: The Original Logo File Was Not Clean
If your logo file was blurry, pixelated, or had unclear outlines, the digitizer must guess at the actual shapes. As a result, this guesswork shows up in the final embroidery as uneven edges and spacing that does not match your original design.
This is exactly why we recommend Vector Art Services before digitizing begins. A clean vector file gives your digitizer precise outlines to follow and therefore, your embroidery matches your logo accurately every single time.
Cause 5: The Fabric Was Not Hooped Straight
Even a perfectly digitized file will sew incorrectly if the operator hoops the fabric at an angle. If the fabric shifts mid-run, letters will drift. Similarly, if the fabric is not pulled tight enough in the hoop, the design will distort during stitching.
Generally speaking, this is an operator issue rather than a digitizing problem, but it is worth checking first if you run the files yourself.
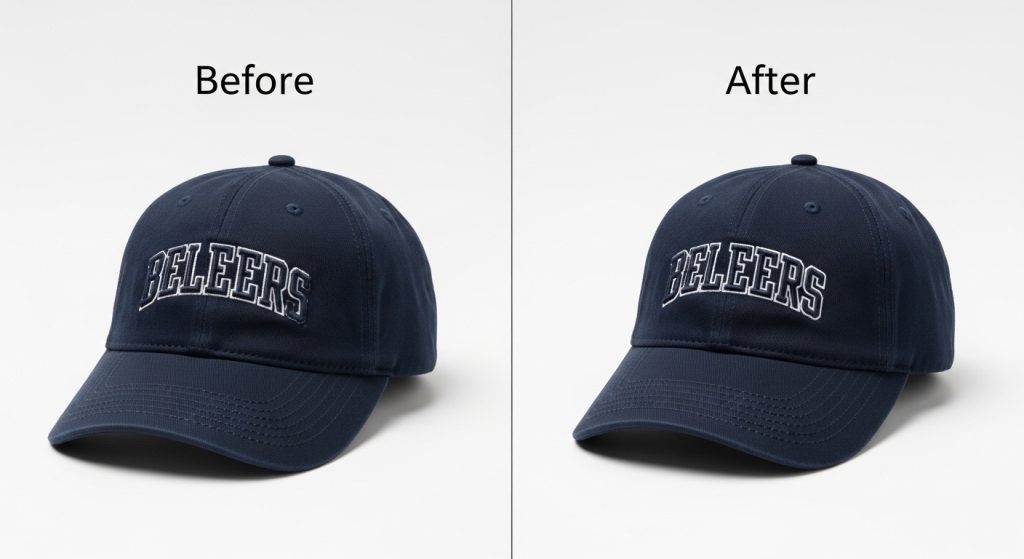
How to Fix Logo and Wording That Is Slightly Off

Fortunately, fixing this problem is straightforward when you know what to look for. Here is the exact process our team follows at Sassy Digitizing when a client reports their logo or wording is slightly off:
Step 1 — Review the original artwork. First of all, we compare your submitted logo against what the digitizer originally created.
Step 2: Open the file in Wilcom. Next, we simulate the stitch-out on screen to see exactly where the problem occurs.
Step 3: Find the root cause. Then, we identify whether the issue comes from pull compensation, the wrong stitch type, or a sequencing problem.
Step 4: Fix or re-digitize. After that, we either correct the specific settings or re-digitize the section from scratch depending on the severity.
Step 5: Send a revised proof. Finally, you review the updated preview before we finalize anything. We only proceed once you approve it.
Summary
When your logo and wording come out slightly off in embroidery, the root cause is almost always in the digitizing file not the machine itself.
The fix is simple: proper manual digitizing by someone who understands fabric behavior, stitch types, and pull compensation.
If you are dealing with this problem right now, our team is ready to help. Send us your file and we will review it, identify the issue, and fix it fast.
Frequently Asked Questions
Why does my embroidered logo look off even though my design file looks fine? The design file looks correct on screen, but embroidery machines push thread through fabric, which causes movement and distortion. If pull compensation and stitch settings are not set correctly in the digitizing file, the result will look off even when the original artwork is perfect.
Can a bad digitizing file be fixed without starting over? Yes, in most cases. A skilled digitizer can open the existing file, identify the specific problem whether it is pull compensation, stitch type, or sequencing and correct it without a full re-digitize.
How do I know if my file was auto-converted or manually digitized? Auto-converted files often have irregular stitch paths, inconsistent density, and no proper underlay. A manually digitized file will have logical stitch sequences, correct underlay layers, and smooth, even fills. If your embroidery keeps coming out slightly off, auto-conversion is likely the cause.
About the Author
Keith Blair | Senior Quality Control (HOD) Keith Blair is Head of Department for Quality Control at Sassy Digitizing with 12 years of commercial embroidery experience. He specializes in stitch density, pull compensation, and production-ready file testing across all fabric types and machines.