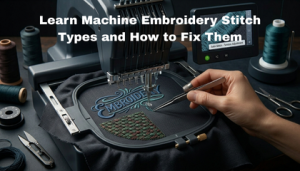
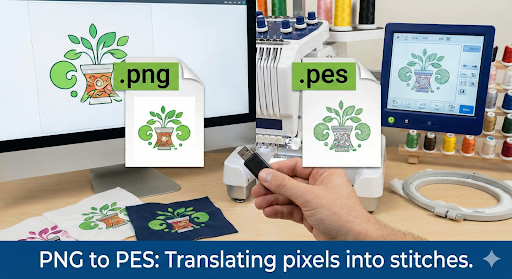
When converting a PNG image to a PES file, you are essentially translating a flat picture into a language your machine understands. This process called digitizing is the bridge between a digital design and a physical embroidered product.
If you simply save a PNG as a stitch file, your machine won’t know what to do. In this guide, we break down exactly how to convert your logo into a high-quality PES file for Brother and Babylock machines.
(Note: If you need a DST file for commercial machines instead, check out our guide on How to Convert PNG to DST for Embroidery
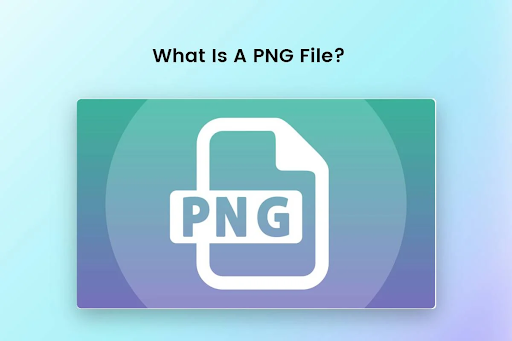
What Is the PNG File Format?
A PNG (Portable Network Graphics) is a raster image format popular for its transparent background capabilities. It is perfect for logos, icons, and web graphics. However, because it is made of pixels (colored dots), embroidery machines cannot read it directly. They need instructions, not dots.
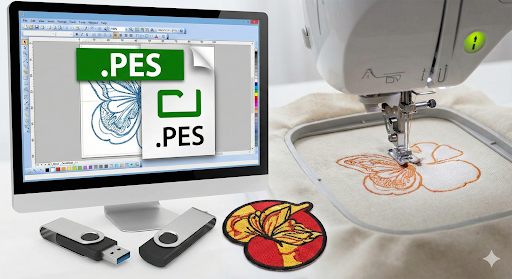
What Is the PES File Format?
A PES file is a specialized stitch data format designed specifically for Brother, Babylock, and Bernina home embroidery machines.
Unlike a PNG, a PES file contains:
X/Y Coordinates: Where the needle should move.
Stop Commands: When to change thread colors.
Trim Commands: When to cut the thread.
Why Convert PNG to PES?
Embroidery machines operate using stitch-based formats. By converting a PNG to PES, you ensure that your design stitches out smoothly and looks professional. This conversion minimizes thread breaks, enhances clarity, and guarantees consistent results on fabric.
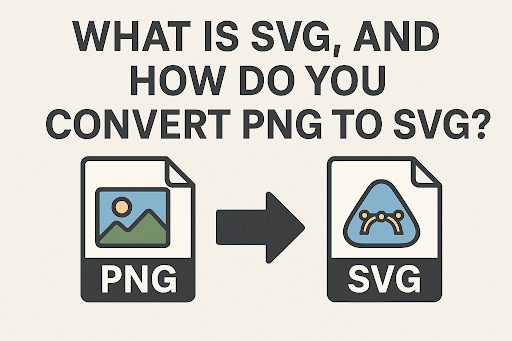
Step 1: Prepare Your Vector (PNG to SVG)
Before you can digitize, you often need a “clean” outline. Raster images (PNG/JPG) can be pixelated, which confuses the software.
Open Adobe Illustrator or a free tool like Inkscape.
Use the “Image Trace” feature to turn your pixelated PNG into a smooth SVG (Scalable Vector Graphic).
This ensures your final embroidery has sharp, crisp edges.
Step 2: Import Into Digitizing Software
You cannot just “Save As” PES in Photoshop. You need dedicated software like:
Wilcom Embroidery Studio (Industry Standard)
Hatch Embroidery (Great for Hobbyists)
Embrilliance
Import your new Vector/SVG file into the software. Ensure the size matches your machine’s hoop (e.g., 4×4 or 5×7).
Step 3: Assign Stitch Types (Crucial)
This is where the magic happens. You must tell the software how to sew each part of the design:
Satin Stitches: Use these for borders and text.
Tatami (Fill) Stitches: Use these for large colored areas.
Underlay: Don’t forget to add underlay stitches! These act as a foundation.
(Warning: If you skip underlay, your fabric might bunch up. Read our guide on How to Stop Embroidery Puckering to avoid this.)
Step-by-Step Guide to Convert PNG to PES for Embroidery
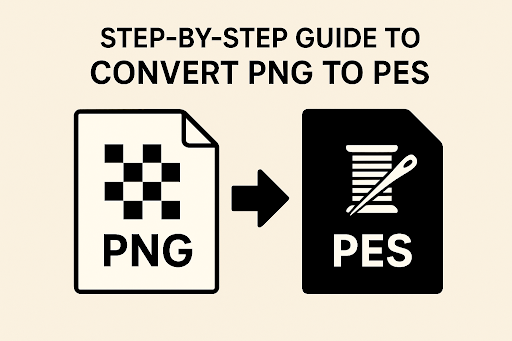
Follow these steps to prepare a clean and accurate PES file.
Step 4: Export & Test
Once digitized:
Go to File > Export / Save As.
Select Brother (*.PES).
Test Run: Always run a test stitch on scrap fabric before using your final garment.
Conclusion: DIY vs Professional?
Converting PNG to PES is an art form. While free tools like Ink/Stitch are great for beginners, complex logos often require a human touch to avoid messy results.
Need a flawless PES file today? Upload your PNG to Sassy Digitizing. Our expert team will manually digitize your design, test it for quality, and send you a machine-ready PES file in under 4 hours.