How to Convert PNG to Vector in Illustrator Professional Guide.
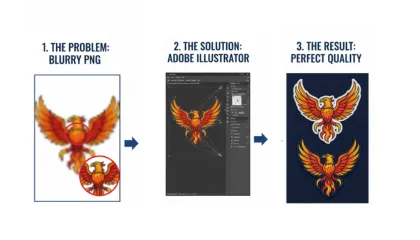
When you are working in the world of professional branding or embroidery, a blurry PNG is often your biggest enemy. These files are made of pixels, which means the moment you try to make them larger, they start to look fuzzy and unprofessional. To get a high-quality result, you need to know how to convert those pixels into clean, scalable vector lines using Adobe Illustrator.
Understanding the Transition from Pixels to Paths
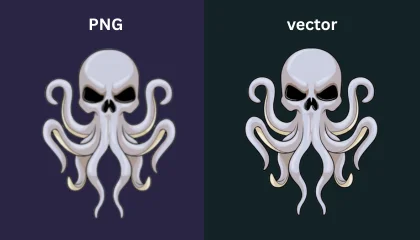
A PNG file is like a mosaic made of tiny colored squares. While it looks fine on a small screen, it lacks the mathematical data needed for a commercial embroidery machine or a large-scale printer to follow. Vector files, on the other hand, use anchor points and paths. This allows the design to be scaled to the size of a billboard without ever losing its sharp edges.
The Automated Route: Image Trace
Adobe Illustrator offers a powerful tool called Image Trace that can handle simple conversions quickly. When you place your PNG into the software, the Image Trace panel allows you to choose presets like Black and White Logo or High Fidelity Photo.
For a cleaner result, you should always open the advanced settings. Adjusting the threshold and noise sliders helps the software ignore small digital artifacts and focus on the main shapes. Once you are happy with the preview, clicking the Expand button turns that trace into actual editable paths.
The Professional Choice Manual Tracing
While automation is fast, it often rounds off corners that should be sharp or misses tiny details in the text. This is why professional shops often prefer manual tracing using the Pen Tool. By redrawing the logo by hand over the original image, you ensure that every curve is intentional and every line is perfectly straight.
At Sassy Digitizing, we emphasize manual clean-up because an embroidery machine follows the vector path exactly. If the vector has a tiny wobble, the needle will wobble too. Taking the time to refine your anchor points in Illustrator is what separates a basic design from a premium finished product.
Keith Blair | Senior Quality Control (HOD)
Keith Blair serves as the Head of Department for Quality Control at Sassy Digitizing, bringing 12 years of commercial embroidery experience to the team. His role focuses on the technical mechanics of digitizing specifically adjusting stitch densities and lengths to suit different fabric types. A specialist in advanced production methods, Keith oversees the digitizing standards for complex 3D puff, appliqué, and small lettering projects. He ensures that every file is tested for efficiency and run-ability before it reaches the customer, bridging the gap between digital design and physical production.
FAQs
1. How do I convert PNG to vector?
Employ Adobe Illustrator’s Image Trace tool and expand and refine these paths.
2. How to convert an image into a vector?
The image is to be imported into Illustrator, traced, expanded, and modified into vector paths.
3. Is vector better than PNG?
Yes, vectors scale without losing quality, unlike PNG raster images.
4. Why choose vector over PNG?
Vectors offer infinite scalability, cleaner edges, and better results for printing and branding.
5. Which is the best vector file?
AI for editing, SVG for web use, and EPS for printing and embroidery workflows.


