How to Reduce Color Changes in Embroidery Digitizing (Step-by-Step Guide)
Every embroidery shop owner knows that feeling. You load a design, hit start and your machine stops. Changes thread. Starts again. Stops again. Changes thread again. By the time the design finishes, you’ve spent more time babysitting the machine than actually producing.
Too many color changes are one of the biggest hidden productivity killers in embroidery. And the frustrating part? Most of them are completely avoidable if the design was digitized correctly from the start.
In this guide, we’ll break down exactly why excessive color changes happen, what they cost you, and the step-by-step techniques to fix them.
Why Color Changes Slow You Down
Every single color change in an embroidery design forces your machine to stop. On a single-needle machine, that means you physically stop, re-thread, and restart. On a multi-needle machine, the head rotates and repositions before continuing. Either way time is lost.
A single-color change on a commercial machine can add 10 to 30 seconds of dead time. On a design with 20 unnecessary color changes, that’s up to 10 minutes of wasted production time per piece. Multiply that across a 100-piece order, and you’re looking at hours lost that you’ll never recover.
The problem almost always starts in the digitizing phase not on the machine floor.
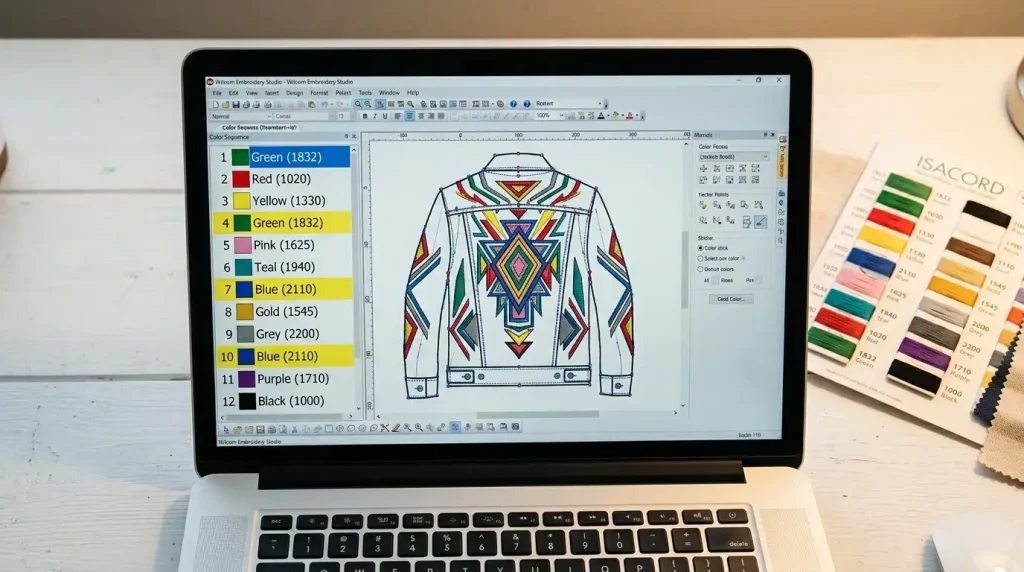
Step 1: Audit Your Color Sequence Before You Stitch
Always audit your color sequence list before stitching to spot unnecessary repeated stops.
Before you do anything else, open your embroidery file and look at the color sequence list. Count how many times the same color appears more than once.
For example, if your design calls for Red → Navy → Red → Gold → Navy → Red, that is three separate red stops, and two navy stops when it could easily be Red → Navy → Gold if the stitch path was planned intelligently.
This is called color stacking, and it is the number one cause of bloated color change counts. A well-digitized file consolidates identical colors into single, continuous runs wherever the design allows.
What to check:
Any color that appears more than once in the sequence
Colors that are geographically close to each other in the design
Small detail elements stitched in isolation that could be grouped with the main body of the same color
Step 2: Merge Same-Color Objects Into One Run
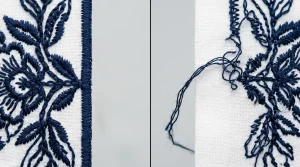
Before and After Color Merge in Embroidery File
Once you’ve identified your repeated colors, the fix is straightforward in any professional digitizing software: merge same-color objects and re-sequence the stitch path.
The goal is to stitch everything in Color A before your machine ever stops for Color B. This requires the digitizer to plan the travel path across the design so that all red areas are connected even if they are physically separate in the artwork.
This is exactly where manual digitizing delivers results that auto-digitizing simply cannot. An automated software tool converts your design color-by-color as it reads the artwork, with no intelligence about production efficiency. A skilled human digitizer plans the sequence deliberately, thinking about the machine run from start to finish.
At Sassy Digitizing, every file is manually digitized using Wilcom which means our team actively sequences colors for production efficiency, not just visual accuracy.
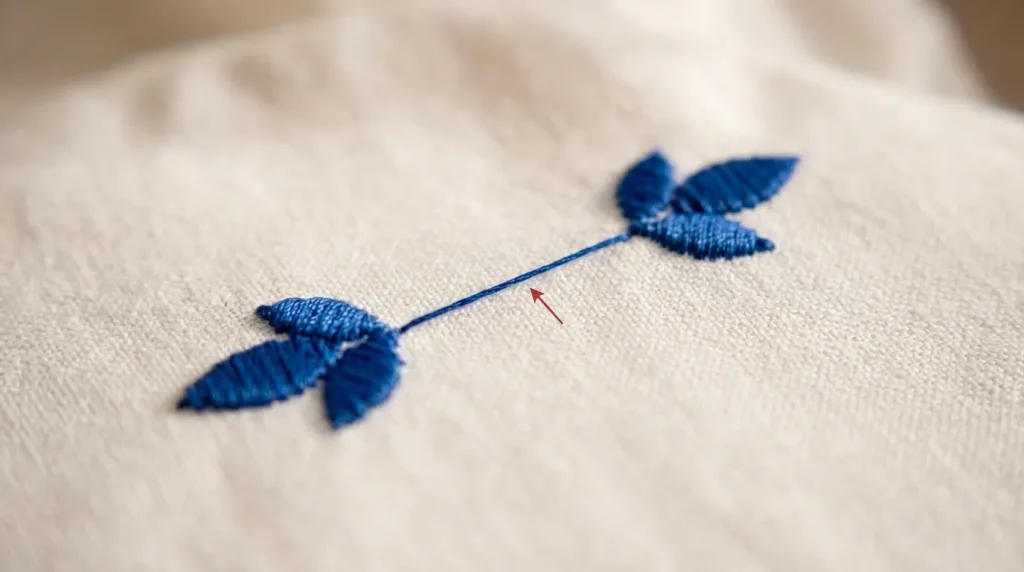
Step 3: Use Smart Jump Stitches Instead of Color Changes
A planned jump stitch keeps your machine running a color stop wastes precious production time.
Sometimes two areas of the same color are far apart on the design, and a direct travel path would create a long jump stitch that damages the underside of the garment. In these cases, many digitizers default to inserting a color stop which is the wrong solution.
The correct approach is to use a planned trim and jump, which keeps the machine running without a full color change stop. Modern embroidery machines handle short trims seamlessly without operator intervention. A color change stop, by contrast, halts everything.
The rule of thumb: if two same-color elements are less than 15mm apart, connect them with a jump. If they are further, trim and continue but do not change colors.
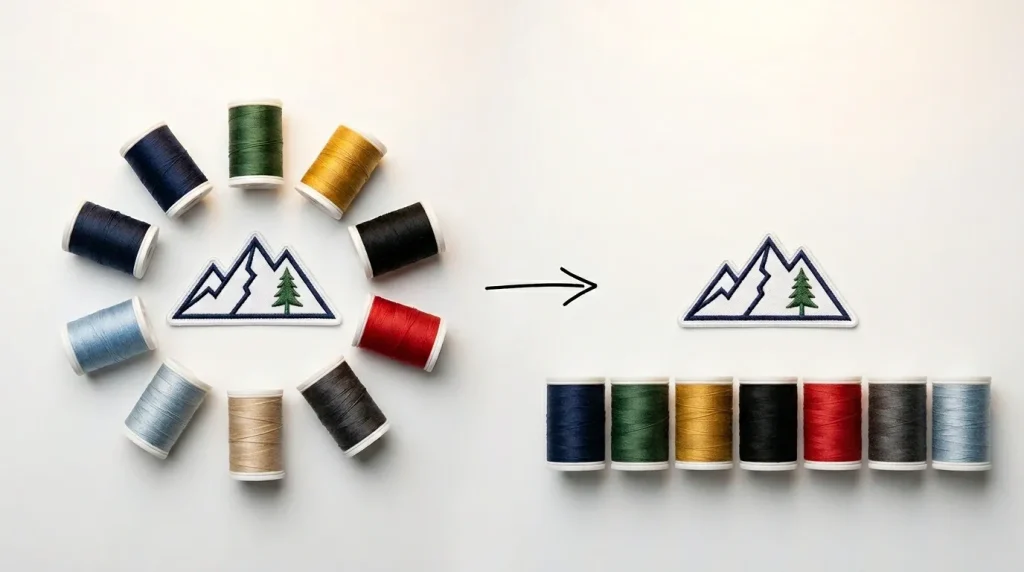
Step 4: Reduce Your Total Color Count Where Possible
Fewer thread colors means fewer stops simplify your design before digitizing begins.
This is a conversation that needs to happen before digitizing even begins at the artwork stage.
Many logos arrive with 8, 10, or even 12 colors when the design would look equally strong in 5 or 6. Every additional thread color adds at least one production stop, one rethreading moment, and one opportunity for thread breaks and registration errors.
Ask your client or review the design with this question in mind: does this color add value to the final embroidered result, or does it only exist in the original digital artwork?
Gradients, shadows, and subtle color transitions that look beautiful on screen rarely translate to embroidery. Simplifying these into solid color zones saves time, reduces stops, and actually produces a cleaner, more professional embroidered result.
If your artwork needs color simplification before digitizing, our Vector Art Services team can clean and optimize your file to the right production-ready color count.
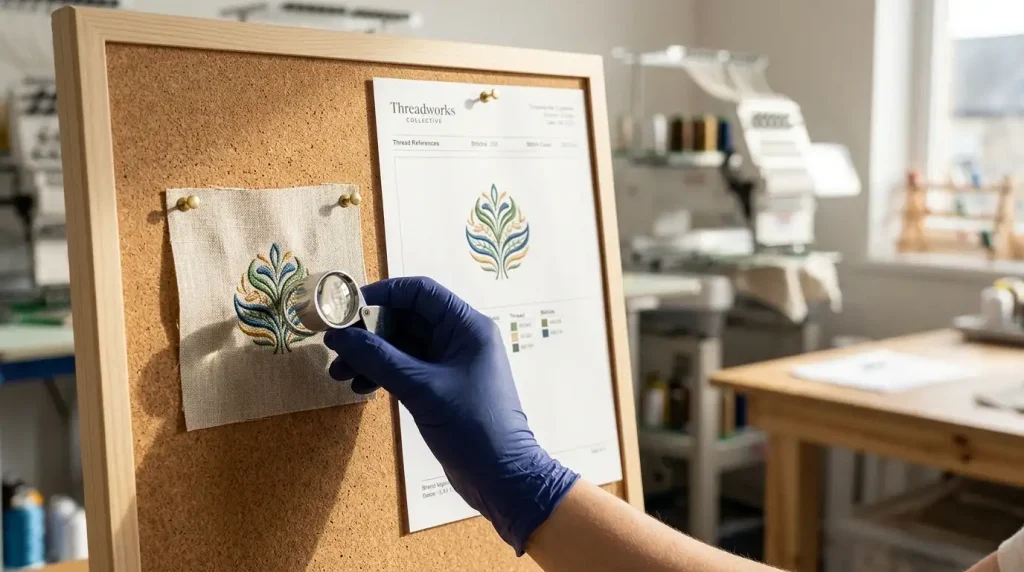
Step 5: Test the Final Run Before Full Production
Always run one test piece first it saves hours of rework across a full bulk order.
Before you run 100 pieces, run one. Watch the machine carefully during the test run and count the actual color change stops. Compare them to your expected sequence.
If the machine stops more times than your color count you have jump stitches being read as color changes, or the file has hidden redundant stops embedded in the digitizing.
A clean test run also tells you whether the travel paths between color sections cause any puckering or tension issues that need to be corrected before full production.
This single step can save you hours of rework on a bulk order.
The Real Cost of Ignoring Color Optimization
Here is a simple breakdown of what poor color sequencing actually costs a production shop:
Design with 15 unnecessary color changes:
Extra time per piece: ~5 minutes
Order size: 100 pieces
Total wasted time: ~500 minutes (over 8 hours of production time lost)
That is an entire working day gone because the file was never properly optimized.
Professional embroidery digitizing services account for production efficiency as part of the digitizing process, not as an afterthought.
Manual Digitizing vs. Auto-Digitizing: Why It Matters for Color Changes
This is the core issue that most shops overlook. Auto-digitizing tools including AI-based converters read your artwork pixel by pixel and assign stitches without any understanding of machine logic or production flow. The result is bloated color sequences full of redundant stops.
Manual digitizing, done by an experienced human digitizer, means every color change is intentional. The digitizer asks: does this machine need to stop here, or can I connect this path to the previous run of the same color? That question, asked hundreds of times across a complex design, is what separates a 20-stop file from a clean 7-stop file of the exact same design.
At Sassy Digitizing, our team has digitized over 12,000 designs using manual Wilcom workflows and color sequence optimization is built into every file we produce.
Summary
Excessive color changes in embroidery are a production problem that starts at the digitizing stage. By auditing your color sequence, merging same-color runs, using smart trims instead of stops, reducing unnecessary colors in the artwork, and testing before full production you can cut your machine downtime significantly and run faster, cleaner, more profitable orders.
Whether you handle digitizing in-house or outsource it, these principles apply to every design, every machine, and every order size.
Need a digitizing partner who already thinks this way? Get a free quote from Sassy Digitizing and see what a properly optimized file looks and runs like.
About the Author
Keith Blair | Senior Quality Control (HOD) Keith Blair serves as the Head of Department for Quality Control at Sassy Digitizing, bringing 12 years of commercial embroidery experience to the team. He specializes in stitch density, underlay sequencing, and production-efficiency digitizing for complex and high-volume orders.