Quick Fixes for Background Problems in Embroidery Files
If you’ve ever sent a logo to be digitized and received a file that just doesn’t look right when you stitch it out, you’re not alone. One of the most common complaints we hear at Sassy Digitizing is: “The file with the background is giving me a slight issue.”
This usually happens when the background of your original artwork isn’t properly removed before digitizing, causing unwanted stitches, thread breaks, or messy embroidery. The good news? It’s fixable. And even better, it’s preventable.
In this guide, we’ll walk you through exactly what causes background issues in embroidery files, how to fix them yourself, and when to reach out to a professional digitizing service to avoid the problem entirely.
Why Does the Background Cause Problems?
When you upload a logo with a background (like a white box around your design or a colored backdrop), the digitizing software sometimes interprets that background as part of the design. This results in:
- Extra stitches where they shouldn’t be
- Thread color changes that don’t make sense
- Designs that look “boxy” or distorted
- Puckering or pulling on lightweight fabrics
The Root Cause: Most embroidery digitizing software reads contrast. If your logo has a solid background, the software might think it’s supposed to stitch that area too.
Pro Tip: Always send your artwork on a transparent background (PNG with transparency) or request that your digitizer removes the background before starting the file.
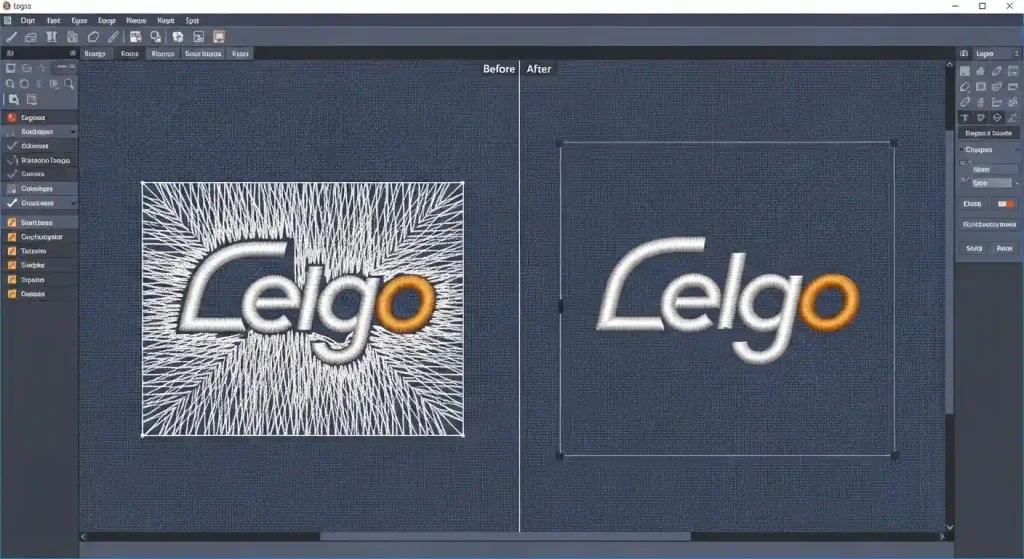
How to Check If Your File Has Background Issues
Step 1: Open Your Embroidery File
Load your file (DST, PES, EMB, etc.) into your embroidery machine software or a viewer like Wilcom, TrueSizer or Embrilliance.
What to Look For:
- Are there stitches outside your design area?
- Do you see a rectangular block of stitches around the logo?
- Does the stitch preview show unexpected colors?
If you answered yes to any of these, your file likely has a background stitching issue.
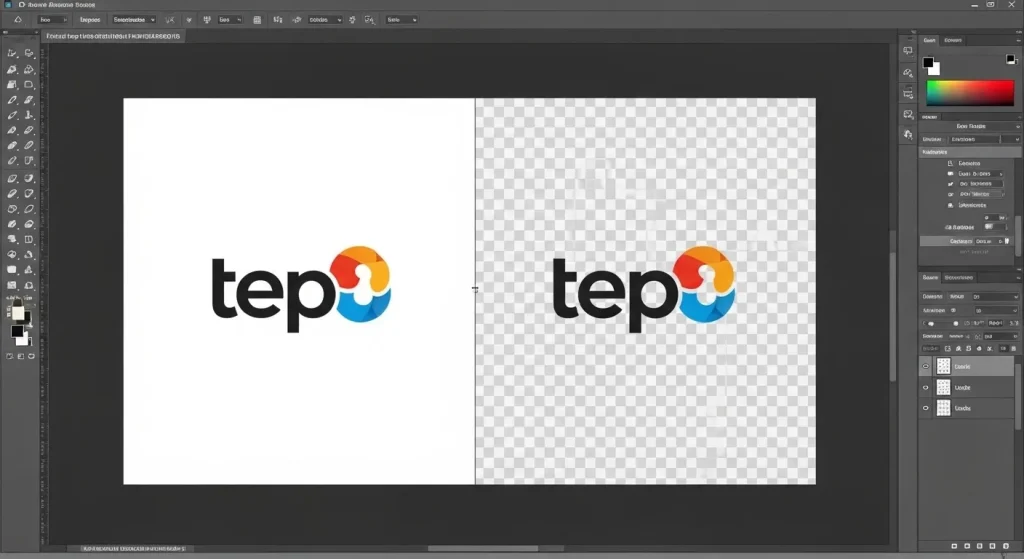
Step 2: Check the Original Artwork
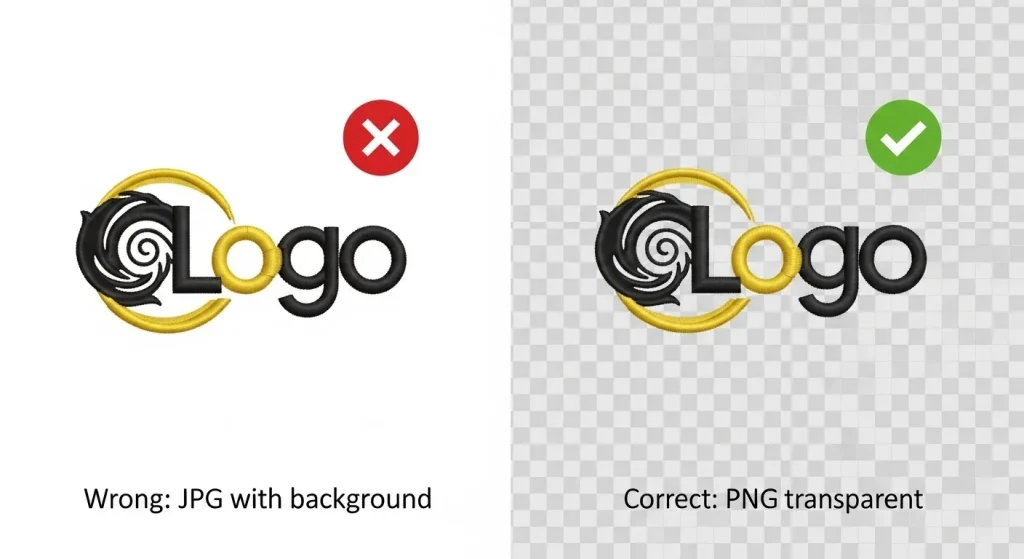
Go back to the image you sent for digitizing. If it’s a JPG or PNG with a visible background color, that’s the source of the problem.
Quick Test: Open the file in Photoshop or any image editor. Does the area around your logo show a solid color instead of a checkerboard pattern (transparency)?
How to Fix Background Issues Yourself
If you already have the embroidery file and need to fix it quickly, here’s what you can do:
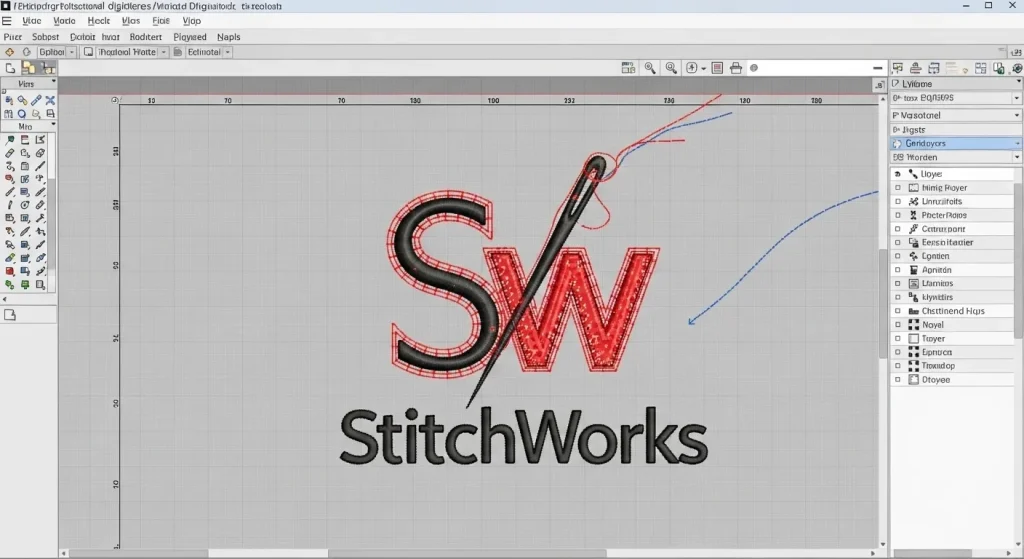
Method 1: Edit the File in Embroidery Software
If you have access to software like Wilcom, Hatch, or PE-Design:
- Open your embroidery file
- Select the unwanted background stitches
- Delete them manually
- Re-save the file in your required format
Important: Make sure you don’t accidentally delete underlay stitches that stabilize the design.

Method 2: Send It Back to Your Digitizer
The fastest solution? Contact the person or company who digitized your file and explain the issue. At Sassy Digitizing, we offer free revisions to ensure your file runs perfectly.
A good digitizer will:
- Remove the background stitches
- Adjust stitch density if needed
- Test the file before re-sending it
How to Prevent Background Issues in Future Files
Always Send Clean Artwork
Before submitting your logo for digitizing:
- Use a transparent background (PNG format)
- Remove any white boxes, borders, or colored backgrounds
- If you only have a JPG, ask your digitizer to clean it up first
Need Help? Our Vector Art Services team can convert your logo into a clean, transparent file ready for digitizing.
Communicate with Your Digitizer
When placing your order, mention:
- The fabric types you’ll be stitching on
- The size you need the design
- Any specific areas you want to avoid stitching (like backgrounds)
Clear instructions help your digitizer deliver exactly what you need the first time.
When to Use Professional Digitizing Services
If you’re constantly running into issues with backgrounds, thread breaks, or poor stitch quality, it might be time to work with a professional.
At Sassy Digitizing, every file is:
- Manually digitized by experienced technicians
- Tested for stitch quality and density
- Delivered with proper underlay and clean edges
- Available in all major formats (DST, PES, EMB, EXP, JEF, VP3)
We also offer Custom Patches if you’d rather skip the embroidery machine altogether and receive ready-to-apply patches.
Summary
Background issues in embroidery files are frustrating but fixable. Whether you’re dealing with unwanted stitches, messy edges, or designs that don’t stitch cleanly, the solution usually starts with clean artwork and clear communication with your digitizer.
Quick Recap:
- Always send transparent PNG files
- Check your embroidery file before stitching
- Work with digitizers who offer free revisions
- Use professional services for consistent results
If you’re tired of trial-and-error digitizing and want files that work right the first time, Sassy Digitizing is here to help. We specialize in clean, production-ready embroidery files with fast turnaround and unlimited revisions.
About the Author
Keith Blair | Senior Quality Control (HOD)
Keith Blair serves as the Head of Department for Quality Control at Sassy Digitizing, bringing 12 years of commercial embroidery experience to the team. His role focuses on the technical mechanics of digitizing, specifically adjusting stitch densities and lengths to suit different fabric types.
A specialist in advanced production methods, Keith oversees the digitizing standards for complex 3D puff, appliqué, and small lettering projects. He ensures that every file is tested for efficiency and run ability before it reaches the customer, bridging the gap between digital design and physical production.