Your design looked perfect on screen. But the moment it came off the machine, the fabric around it was wavy, pushed outward, and nothing sat flat. Sound familiar?
This is one of the most common and most misunderstood problems in embroidery production. The cause is almost always too much push, and the fix is simpler than you think.
What Is Fabric Push in Embroidery?
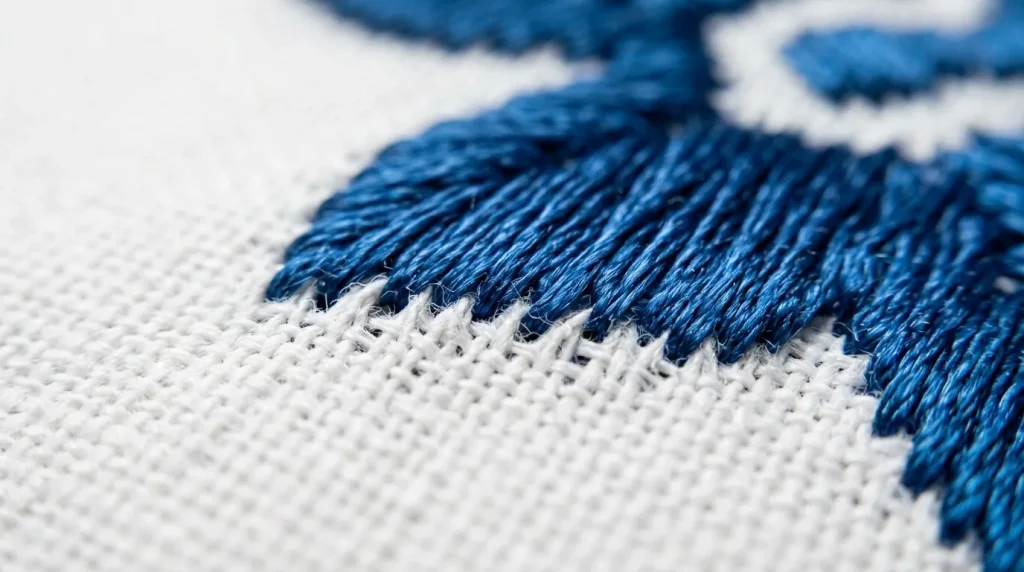
Every time an embroidery needle penetrates fabric, it physically displaces the threads around it. When you have hundreds or thousands of needles strikes in a small area, that displacement adds up. The fabric gets pushed outward from the center of the design, creating distortion along the edges.
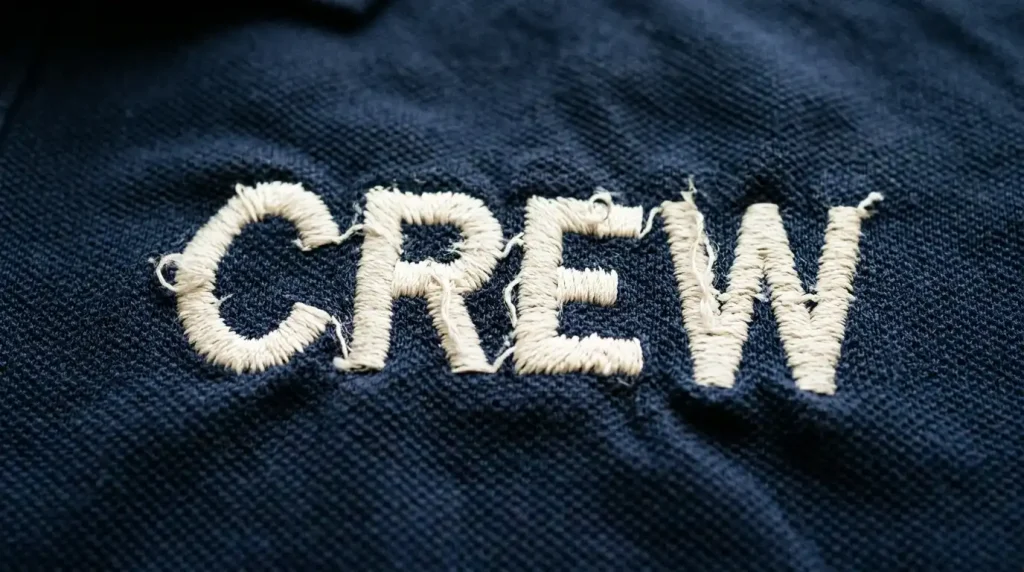
This is different from puckering, which pulls fabric inward. Push distortion moves fabric outward making your design appear larger than intended, with uneven or bubbled borders.
Note: If your finished embroidery looks bigger than your original design dimensions, that is push distortion not a machine calibration issue.
What Causes Too Much Push?
There are three main reasons this happens:
Stitch density is too high. When stitches are packed too closely together, every needle strike has nowhere to go except into the fabric, forcing threads sideways.
Pull compensation is set too high. Pull compensation adds width to stitches to account for thread tension pulling inward. If it is set too aggressively, it overcorrects and starts pushing fabric outward instead.
Wrong or no stabilizer. Without the right stabilizer, the fabric has nothing to resist the needle’s pushing force, so it moves freely in any direction the machine pushes it.
Step 1: Reduce and Balance Your Pull Compensation
Pull compensation is the most common culprit. For most standard woven fabrics like cotton twill or polyester, a pull compensation of 0.3mm to 0.4mm is the correct range. Anything above 0.5mm on a standard fabric will start creating outward push rather than correcting inward pull.
For knit fabrics or stretchy materials, keep it even lower around 0.2mm because these fabrics already have natural give and do not need as much compensation.
Check each element in your design separately. A large fill area and a small text element sitting next to each other may need different pull compensation values. At Sassy Digitizing, we set pull compensation per element, not as a blanket value across the whole file and that difference shows in the final sew-out.
Step 2: Correct Your Stitch Density
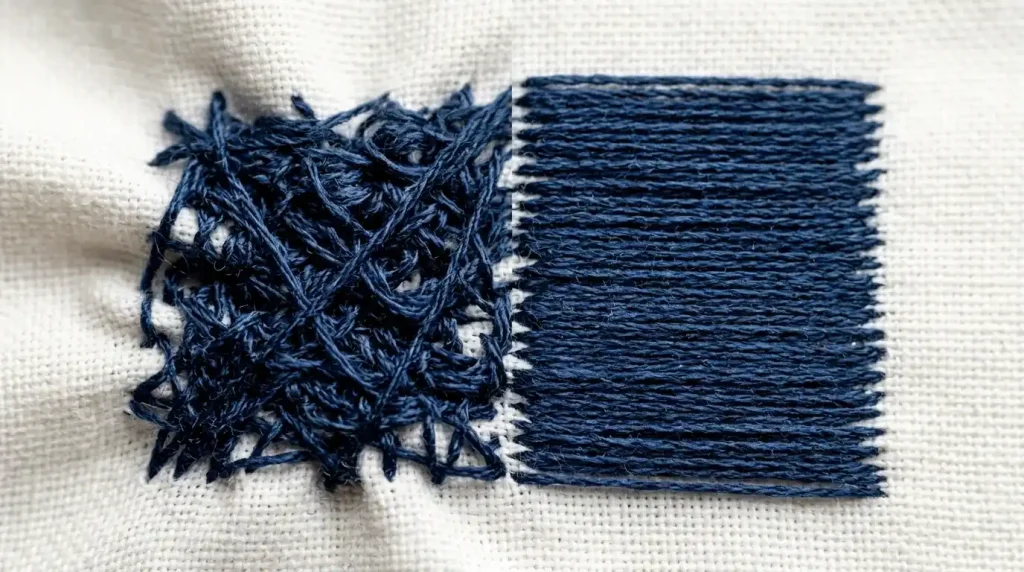
For fill stitches, the standard density for most fabrics is 0.4mm to 0.45mm between rows. Going below 0.4mm means more stitches per square centimeter, which creates more push force on the fabric.
For satin stitches on lettering, keep column density at 0.4mm and avoid stitch lengths shorter than 1.5mm. Short stitches concentrate needle hits in a tiny area, which is exactly what drives push distortion on small text.
A quick test: if your satin columns feel stiff and cardboard-like to the touch after sewing, your density is too high. The finished embroidery should feel firm but still flexible with the fabric.
If you need help calculating the right density for a specific fabric, our digitizing services team handles this as part of every file we produce.
Step 3: Use the Right Stabilizer and Hooping Technique
Even a perfectly digitized file will push fabric if the hooping is wrong. These are the two rules to follow:
Match stabilizer to fabric. Cutaway stabilizer is the correct choice for stretchy or unstable fabrics. Tearaway works for stable woven fabrics. Using tearaway on a knit or fleece is one of the fastest ways to create push distortion because the fabric has no rigid backing to resist needle force.
Hoop tight and flat. Any slack in the hoop gives the fabric room to shift as the needle pushes it. The fabric should feel drum-tight inside the hoop before the first stitch begins. If you can push the fabric with your finger and feel movement, re-hoop it.
For custom patches and heavy designs, we recommend adding a topping layer on textured fabrics to prevent individual fabric threads from being pushed between stitch columns.
Summary
Too much push in embroidery comes down to three fixable settings: pull compensation that is too high, stitch density that is too tight, and stabilizer that is wrong for the fabric. Adjust these three things and your distortion problem disappears.
If you want every file built correctly from the start with density, compensation, and underlay already optimized for your specific fabric Sassy Digitizing is ready to help. Our digitizing services are built around one standard: clean results on the very first sew-out.
About the Author
Keith Blair | Senior Quality Control (HOD) Keith Blair has 12 years of commercial embroidery experience and leads Quality Control at Sassy Digitizing. He specializes in stitch mechanics, density optimization, and fabric behavior ensuring every file is tested and production-ready before delivery.