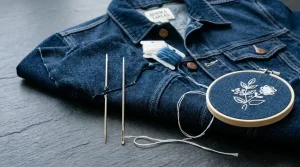
If you’ve ever tried to embroider a logo on a fluffy towel, chenille blanket, or fleece jacket and ended up with a design that looks like it’s drowning in fabric fuzz, you’ve probably wondered: “Is there a way to do this without that extra stitch layer underneath?”
The short answer? Sometimes yes, sometimes absolutely not.
At Sassy Digitizing, we get this question all the time from clients who want to cut corners on stitch count or skip steps they don’t fully understand. Let’s break down what a takedown stitch (also called a knockdown stitch, nap-tack stitch, or pile-down stitch) actually does, when you can skip it, and when skipping it will ruin your embroidery.
What Is a Takedown Stitch?
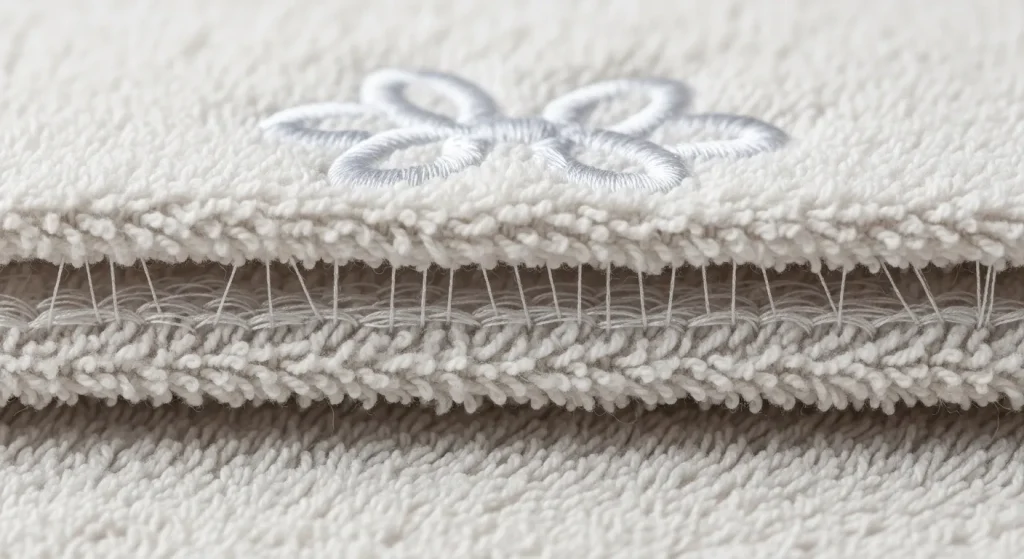
A takedown stitch is a layer of light, loosely packed stitching that sits underneath your main embroidery design. Its job is to flatten the raised fibers (called “nap” or “pile”) of textured fabrics like towels, fleece, chenille, or faux fur.
Think of it like painting a wall. You wouldn’t paint directly onto a bumpy, uneven surface and expect smooth results. The takedown stitch creates a smooth “canvas” so your embroidery sits on top instead of sinking into the fabric texture.
When Do You NEED a Takedown Stitch?
You absolutely cannot skip the takedown stitch in these situations:
On High-Pile Fabrics
Towels, sherpa, fleece, faux fur, and chenille have raised fibers that will swallow your embroidery whole. Without a takedown stitch, your design will look blurry and unprofessional.
For Small Lettering or Fine Details
Thin fonts, script lettering, or intricate logos with small elements get lost in textured fabric. A takedown stitch ensures every detail stays visible.
When Using Water-Soluble Topping Alone
Many people think water-soluble stabilizer (like Solvy) is enough. It helps, but once it washes away, your embroidery sinks back into the fabric. A takedown stitch is permanent and keeps the design raised even after washing.
When Can You SKIP the Takedown Stitch?
There are cases where you can get away without using a takedown stitch:
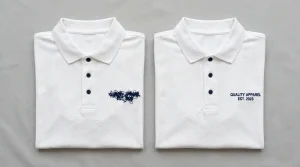
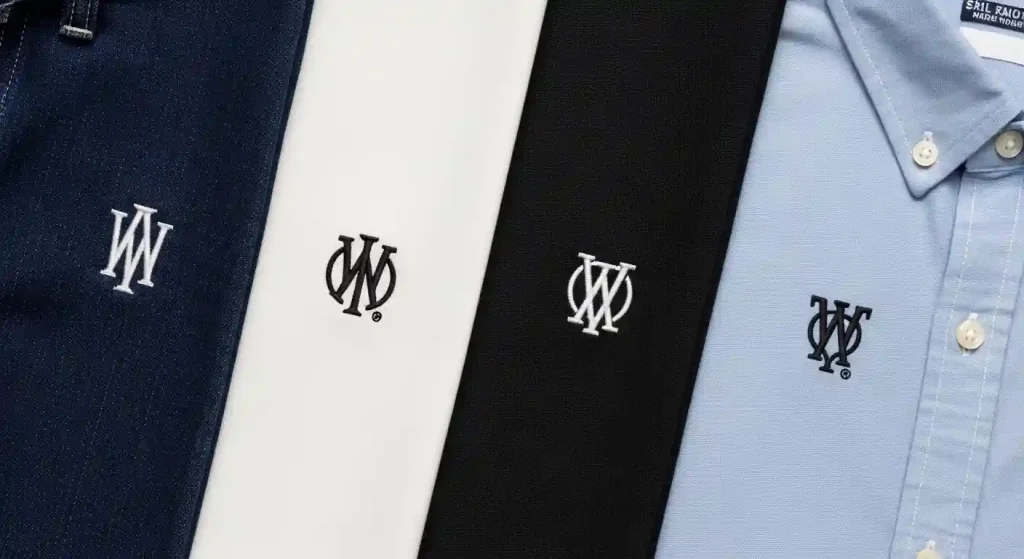
On Smooth, Stable Fabrics
Cotton, denim, canvas, and twill don’t have raised nap, so there’s nothing to flatten. Your embroidery will sit cleanly on the surface without extra support.
For Bold, Large Designs
If your design uses thick satin columns, dense fills, or large block letters, the embroidery itself might be heavy enough to hold down the fabric naturally.
On Tightly Woven Fabrics
Fabrics like Oxford cloth or dress shirt material don’t have loose fibers to interfere with your stitching.
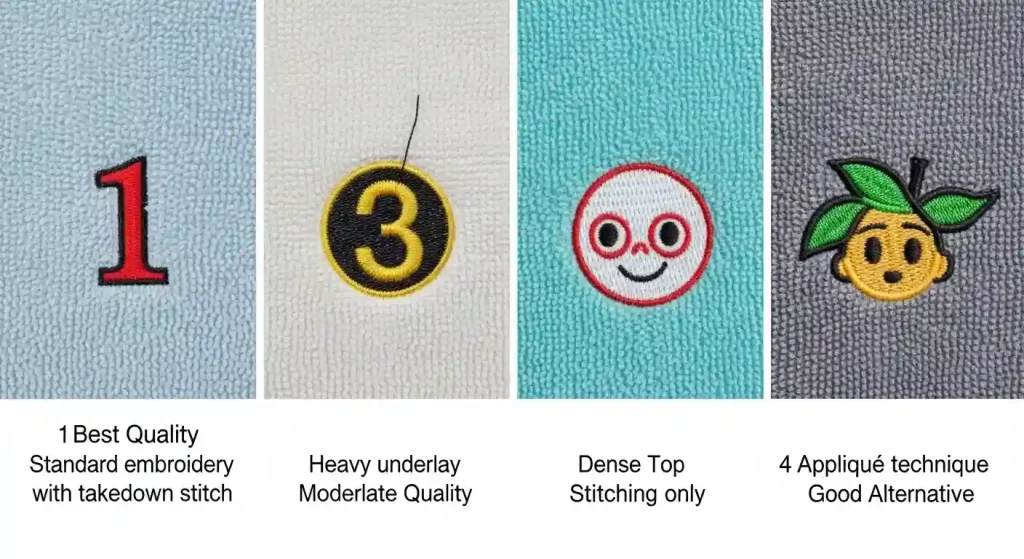
Alternatives to Takedown Stitch (That Actually Work)
If you really want to avoid adding a takedown stitch, here are some workarounds—but they come with trade-offs:
Use Heavier Underlay
Instead of a full takedown stitch layer, you can increase the density of your underlay stitching. This provides some nap control but won’t be as effective on very high-pile fabrics.
Increase Stitch Density
Making your top embroidery stitches denser can help them “stand up” better against fabric texture. However, this increases stitch count (and cost) and can make the fabric stiff.
Choose Simplified Designs
If you’re embroidering on towels without a takedown stitch, stick to bold, chunky designs with thick outlines. Avoid small text and fine details entirely.
Use Appliqué Technique
For large areas, consider using appliqué digitizing instead. This covers more surface area with less stitching and naturally holds down fabric nap.
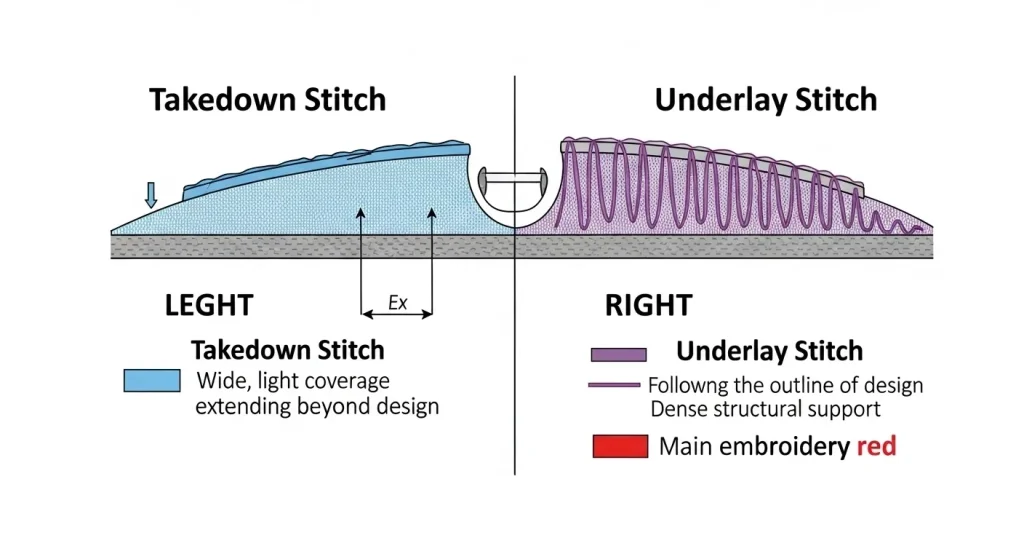
The Takedown Stitch vs. Underlay Stitch: What’s the Difference?
A lot of people confuse these two, so let’s clear it up:
Takedown/Knockdown Stitch:
- Purpose: Flattens fabric nap
- Placement: Covers the entire area around and under the design
- Density: Light, loose fill
- Used on: Textured, high-pile fabrics
Underlay Stitch:
- Purpose: Stabilizes fabric and prevents distortion
- Placement: Follows the outline of the design
- Density: Medium to dense
- Used on: All fabric types for structural support
Both serve different purposes. On towels or fleece, you often need both a takedown stitch and proper underlay for the best results.
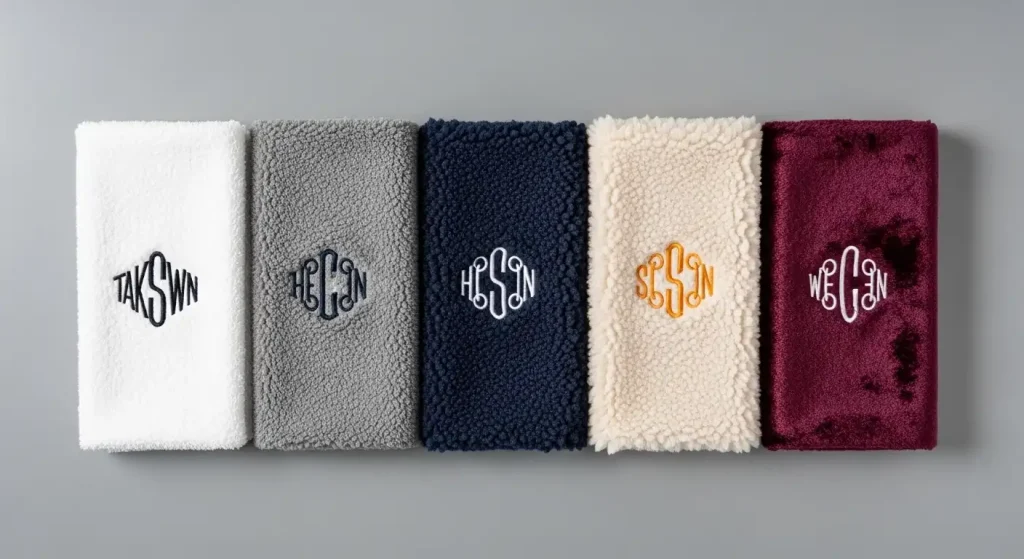
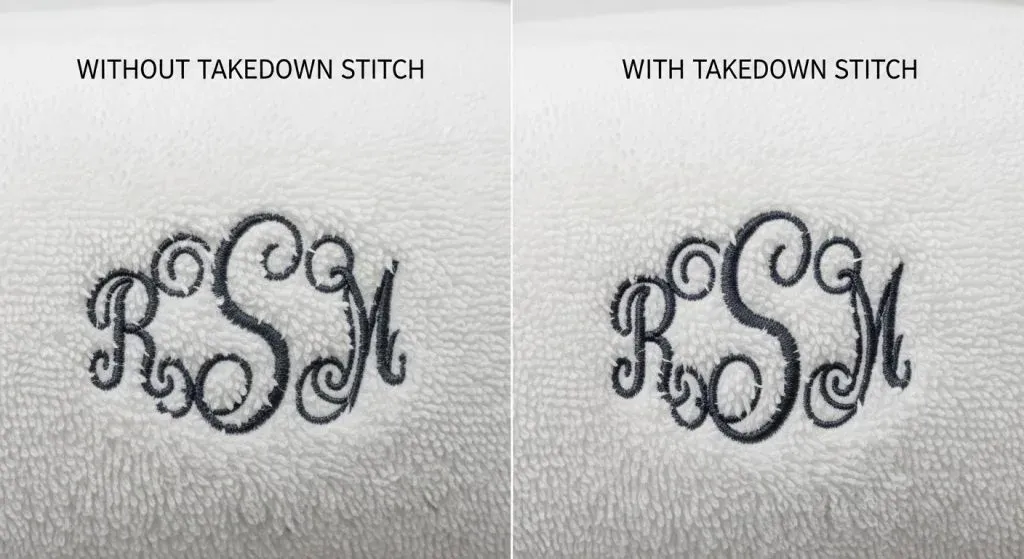
Real-World Example: Towel Embroidery
Let’s say you’re embroidering a 3-inch monogram on a bath towel. Here’s what happens:
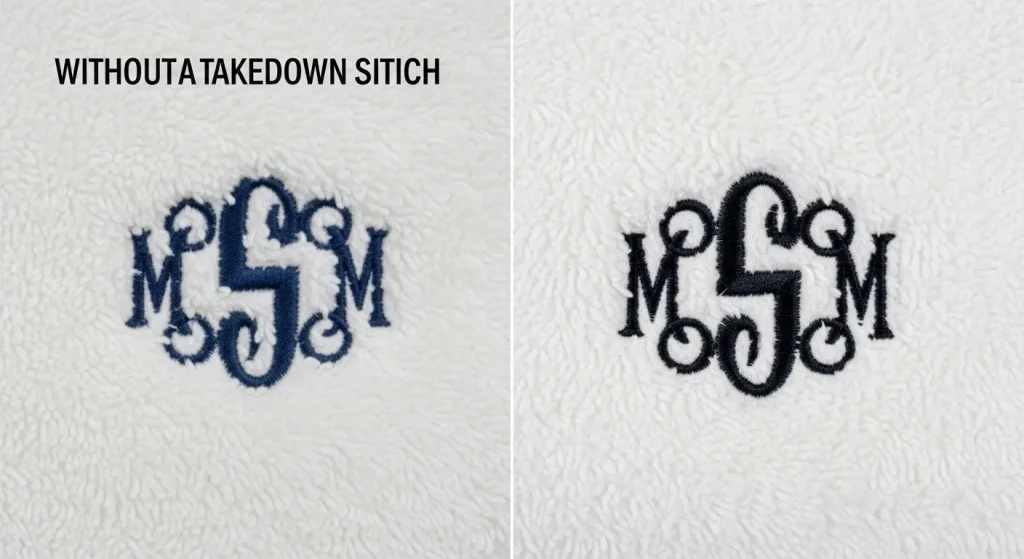
Without Takedown Stitch:
- Thread sinks into terry loops
- Outlines disappear
- Letters look fuzzy and unclear
- Design looks amateur
With Takedown Stitch:
- Fabric nap is flattened
- Embroidery sits raised
- Outlines are crisp
- Professional, retail-quality finish
At Sassy Digitizing, we always include proper takedown stitching in our towel embroidery digitizing files because we know how critical it is for quality results.
How to Add a Takedown Stitch (DIY vs. Professional)
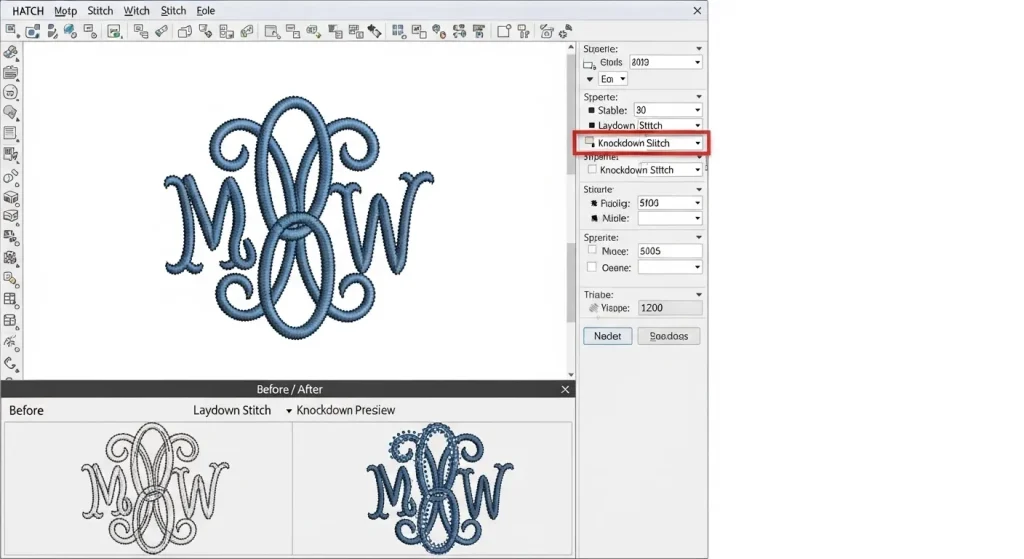
DIY Method:
If you use software like Hatch, Wilcom, or Embrilliance Enthusiast, most programs have an automatic “knockdown” or “laydown” stitch feature. You can generate a basic shape (circle, square, or custom contour) and place it underneath your design.
Professional Method:
At Sassy Digitizing, our digitizers manually create custom takedown stitches tailored to your specific design and fabric type. We adjust density, stitch direction, and coverage area to ensure optimal results without adding unnecessary bulk.
For complex designs or commercial production, professional digitizing services always deliver better, more reliable results than DIY attempts.
Summary
Can you skip the takedown stitch? Yes, on smooth fabrics. No, on textured fabrics.
For towels, fleece, chenille, or any high-pile fabric, the takedown stitch is not optional—it’s essential for professional-quality embroidery. Skipping it might save you a few hundred stitches, but it will cost you in quality, clarity, and customer satisfaction.
If you’re unsure whether your design needs a takedown stitch, or if you want files that are optimized for every fabric type, Sassy Digitizing is here to help. We provide manual digitizing services with proper underlay, takedown stitching, and density adjustments for flawless embroidery every time.
Ready to get started? Contact us today or check out our pricing for fast, affordable, professional digitizing.
About the Author
Keith Blair | Senior Quality Control (HOD)
Keith Blair serves as the Head of Department for Quality Control at Sassy Digitizing, bringing 12 years of commercial embroidery experience to the team. His role focuses on the technical mechanics of digitizing, specifically adjusting stitch densities and lengths to suit different fabric types.
A specialist in advanced production methods, Keith oversees the digitizing standards for complex 3D puff, appliqué, and small lettering projects. He ensures that every file is tested for efficiency and run ability before it reaches the customer, bridging the gap between digital design and physical production.