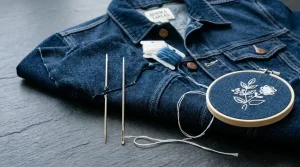
If you just ran your design and the size came out completely wrong too big, too small, or just off you are dealing with embroidery sizing issues that almost every operator faces at some point.
The good news is that this problem is almost always fixable. In this guide, we will walk you through exactly why embroidery sizing issues happen and how to solve them step by step.
What Causes Embroidery Sizing Issues?
Embroidery sizing issues rarely come from the machine itself. Your machine stitches exactly what the file tells it to. Therefore, when the size is wrong, the problem is either in the file, the software settings, or the hoop setup.
Let us go through each cause clearly.
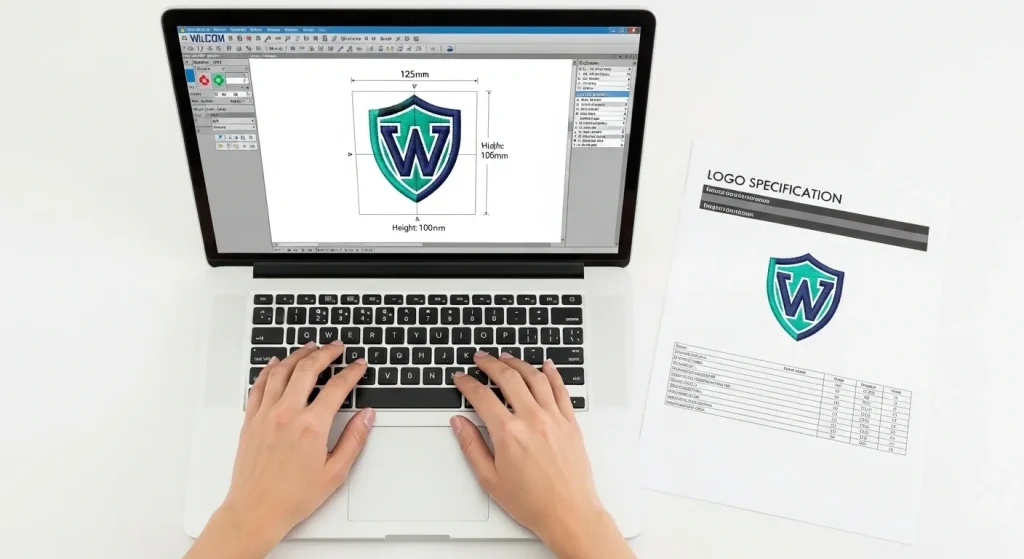
Cause 1: The File Was Saved at the Wrong Dimensions
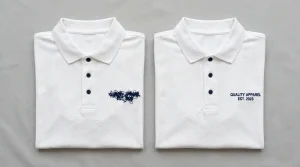
This is the most common cause of embroidery sizing issues. When the digitizing file was created, the design dimensions were simply set incorrectly. For example, a chest logo meant to be 3.5 inches wide might have been saved at 7 inches. As a result, your machine will sew it exactly that size.
Pro Tip: Always open the file in your software and check the width and height in design properties before you run it. Never assume the file is correctly sized.
At Sassy Digitizing, we always confirm your required dimensions before building any file. We deliver every file sized exactly to your specs.
Cause 2: Millimeters vs. Inches; The Unit Mix-Up
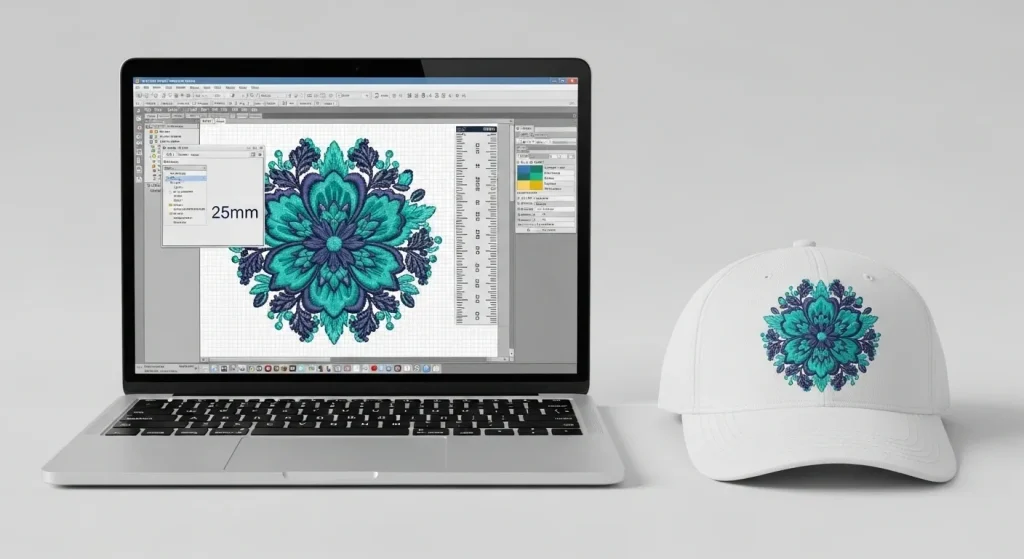
This cause surprises many operators. Embroidery software works in either millimeters or inches. If your software unit is set differently from how the file was built, you will get the wrong size every time.
For instance, a design built at 3.5 inches will sew out as a tiny 3.5mm dot if your software reads it as millimeters. Conversely, a file built in mm read as inches will sew out enormous.
Therefore, always check your unit settings before loading any new file. This single step prevents a large number of sizing problems.
Cause 3: Hoop Size Does Not Match the Design

When your hoop is much larger than your design, some machines automatically rescale the output depending on software settings. This directly causes embroidery sizing issues by making your design sew out larger than intended.
Additionally, if your design is larger than the hoop allows, the machine may distort or cut off the edges. Always match your hoop size as closely as possible to your design dimensions.
Cause 4: The File Was Auto-Converted, Not Properly Digitized
Auto-conversion tools generate stitch paths automatically from your image. However, they have no understanding of your required output size, fabric type, or machine settings. As a result, the size of the finished embroidery often does not match what you wanted at all.
Manual digitizing where a skilled person builds the file from scratch means the size, density, and stitch direction are all intentionally set for your exact requirements. If your files keep coming out the wrong size even after checking all settings, the file itself likely needs to be re-digitized.
Our team at Sassy Digitizing specializes in fixing and rebuilding poorly sized or auto-converted files.
How to Fix Embroidery Sizing Issues
Follow this exact checklist when your design runs the wrong size:
Step 1: Check file dimensions. Open the file in your software. Look at the width and height in design properties. Compare it to what you actually need.
Step 2: Confirm your unit setting. Make sure your software is in the same unit (inches or mm) as the file was built in.
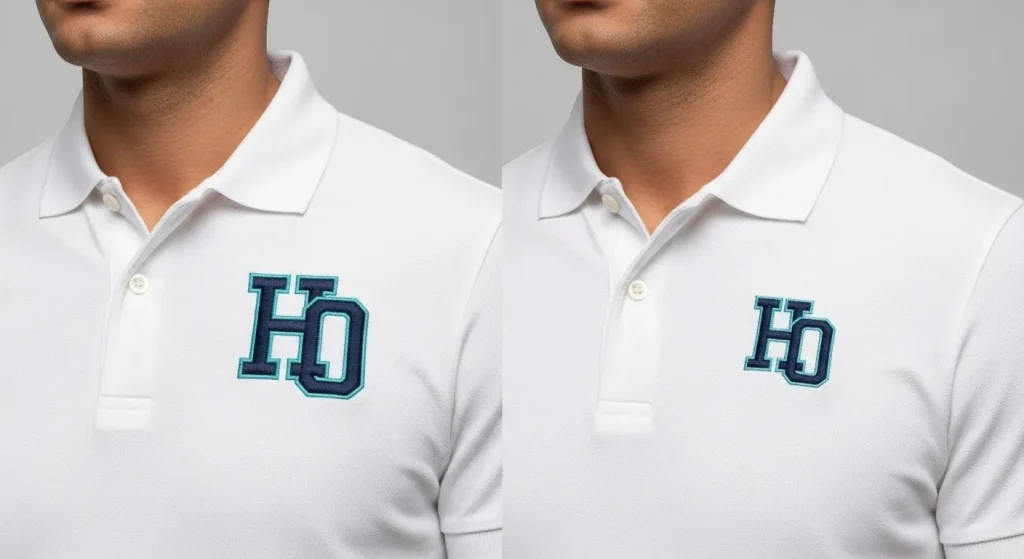
Step 3: Resize carefully if needed. You can resize up to about 15–20% without major quality loss. However, for larger size differences, re-digitizing at the correct size gives much better results.
Step 4: Match your hoop to the design. Select the hoop closest in size to your design before running.
Step 5: Always test on scrap fabric first. Run a test stitch on scrap material before putting it on the final garment. This saves you from ruining finished products.
Summary
Embroidery sizing issues almost always come down to one of four causes: wrong file dimensions, a unit setting mismatch, the wrong hoop size, or a poorly auto-converted file.
Check your settings first. If the problem is in the file itself, get it fixed or re-digitized professionally.
If you are dealing with this right now, send your file to Sassy Digitizing. We will review it, find the sizing problem, and fix it fast.
Frequently Asked Questions
Why did my embroidery design run too big? The most common reason is that the file was saved at the wrong dimensions, or your software unit setting (mm vs inches) does not match the file. Always check design dimensions and units before running.
Can I resize an embroidery file without re-digitizing it? You can resize safely up to about 15–20%. However, for larger size changes, re-digitizing at the correct size gives far better stitch quality and density.
What is the standard size for a left chest or cap logo? Left chest logos typically run between 3 and 3.75 inches wide. Cap logos usually fall between 2.25 and 2.75 inches wide. Always provide your target dimensions to your digitizer before the file is built.
About the Author
Keith Blair | Senior Quality Control (HOD)
Keith Blair serves as Head of Department for Quality Control at Sassy Digitizing with 12 years of commercial embroidery experience. He specializes in stitch density, pull compensation, file sizing, and production-ready file testing across all fabric types and machine formats.