When you need to fix cap logo embroidery fill stitches that are overflowing the border, bleeding outside the outline, or simply looking too large or too small for the cap panel the problem is almost always in the digitizing file, not the machine. Cap embroidery has specific requirements that flat garment embroidery does not, and fill stitches behave differently on a curved structured surface than they do on a flat polo or jacket.
This guide walks you through exactly why fill stitches overflow on cap logos, how to resize correctly for the cap panel, and how to contain your fill stitches cleanly inside their borders.
Why Fill Stitches Overflow on Cap Logos
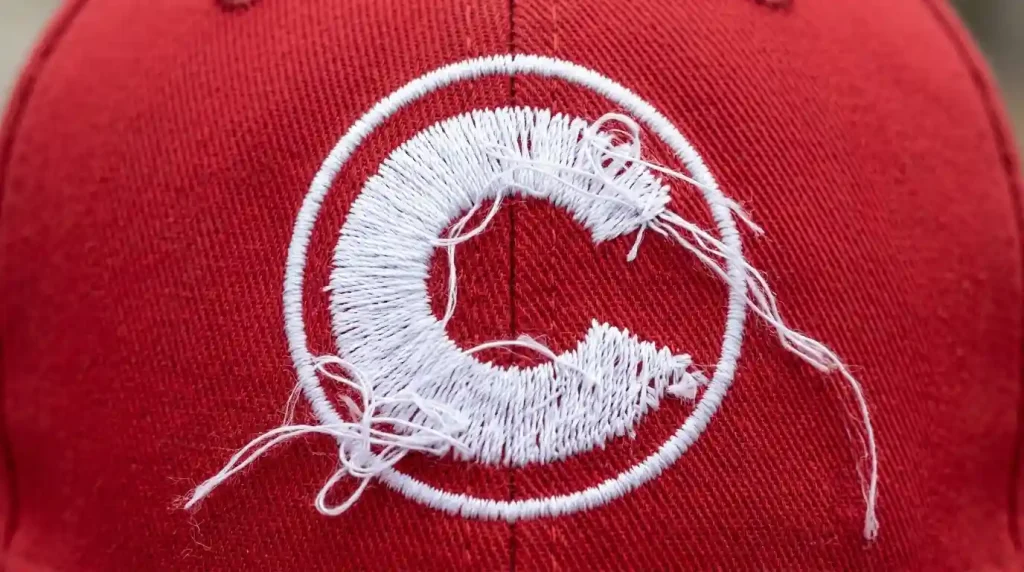
Fill stitches overflow the border outline on cap logos for two specific reasons and both are digitizing settings, not machine problems.
Reason 1: Pull Compensation Set Too High Pull compensation is the setting that widens fill stitches slightly to account for how the fabric contracts when stitched. On flat woven fabrics, this works correctly. But on structured cap fabric which is stiffer and does not contract the same way high pull compensation pushes fill stitches outward past the border.
Reason 2: Stitch Direction Angle Pointing Toward the Border If the fill stitch angle runs directly toward a border edge, the stitches naturally push against and through that edge during production. Adjusting the angle so fill rows run parallel to the border instead of toward it solves this immediately.
Both of these problems are closely related to why hat embroidery keeps pinching and distorting in the same spot the curved cap surface amplifies any push or pull in the stitch settings far more than flat fabric does.
Step 1: Open the Design and Check Your Settings
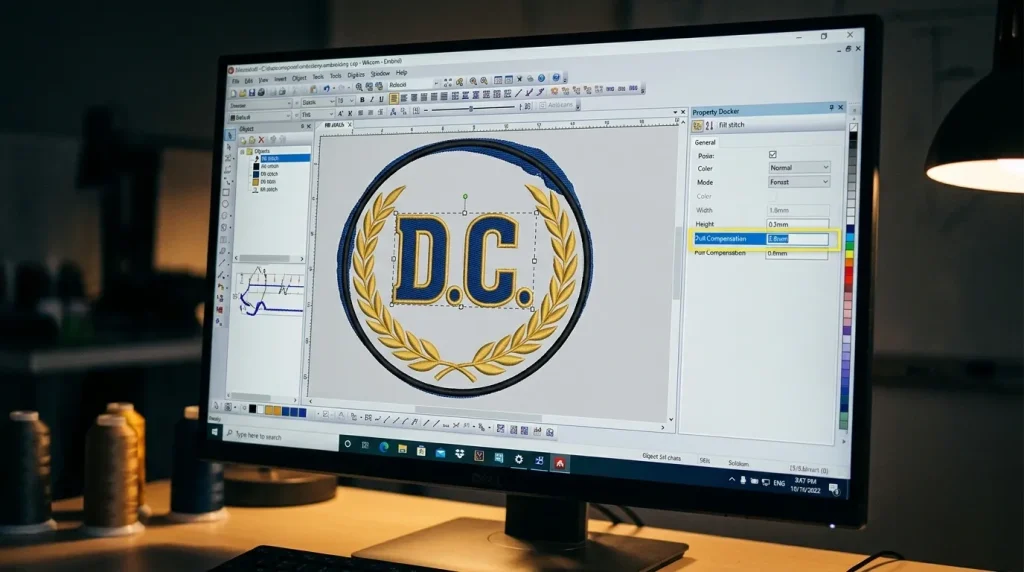
Open your cap logo in your embroidery digitizing software and select the fill stitch object that is overflowing.
In the object properties panel, check these two values first:
Pull Compensation: For structured cap fabric, pull compensation on fill stitches should be set between 0.2mm and 0.4mm. If yours is set above 0.5mm, this is almost certainly causing the overflow. Cap fabric is stiff it does not need as much pull compensation as soft knit or fleece.
Stitch Density: Check that row spacing is set between 0.4mm and 0.45mm for standard cap fabric weight. Density that is too loose can also cause stitches to wander outside the boundary because the fill rows are not interlocking tightly enough to stay contained.
For a full breakdown of all digitizing settings specific to cap and hat embroidery, our guide on best embroidery digitizing settings for hats and caps covers every value you need by cap type and fabric weight.
Step 2: Adjust Pull Compensation and Stitch Direction
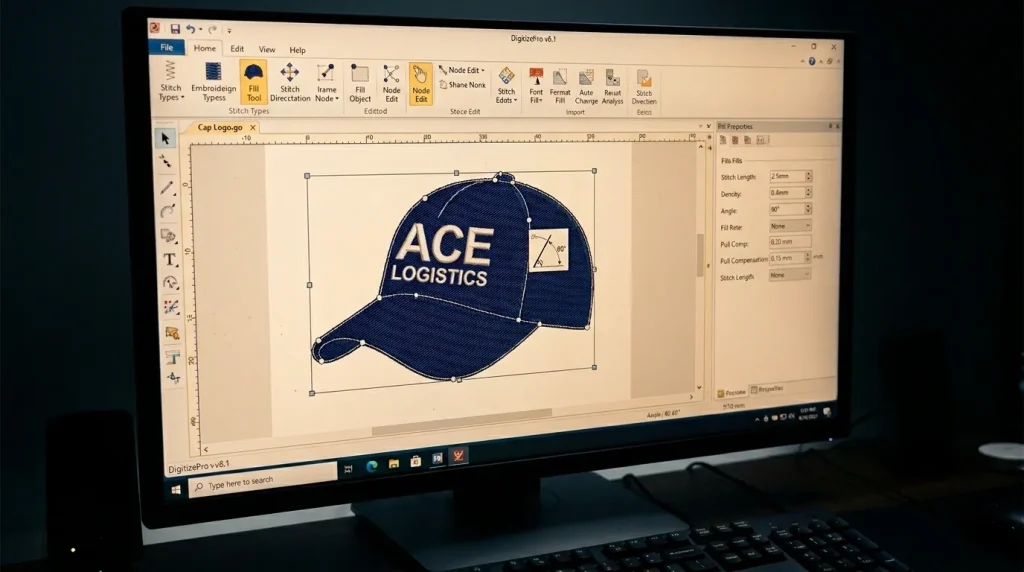
With the fill stitch object selected, make these two adjustments:
Fix 1: Lower the Pull Compensation Reduce pull compensation to 0.3mm for most structured cap fabrics. If the overflow is severe, start at 0.2mm. Run a test and increase slightly if the fill starts pulling away from the border inward instead find the balance point where stitches stop at the border cleanly.
Fix 2: Adjust the Fill Stitch Angle Change the fill stitch angle so the rows run at 45 degrees to the nearest border edge rather than perpendicular to it. This small change stops the stitch rows from driving directly into the border and pushing through it. In Wilcom and most professional cap digitizing software, the angle is set inside the fill stitch object properties panel.
Fix 3: Add Edge Padding to the Border If overflow continues after adjusting pull compensation and angle, add a thin satin stitch border at 0.8mm to 1mm width around the fill area. This satin border stitches last and acts as a physical wall that covers any remaining fill stitch edge irregularities, giving the logo a sharp clean outline. This is the same technique used to fix messy embroidery lettering outlines on all garment types.
Step 3: Resize the Logo for the Cap Panel
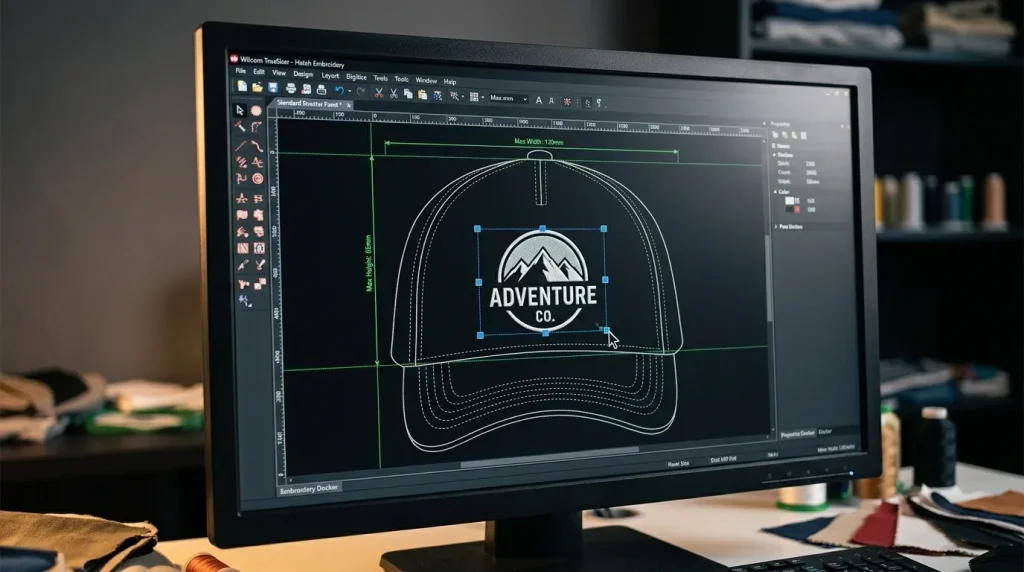
Cap logos have specific size limits. Exceeding them causes distortion and registration problems that setting adjustments cannot fix.
Standard size limits for cap front panel embroidery:
- Width: Maximum 2.25 inches (57mm)
- Height: Maximum 2 inches (50mm)
- Text minimum: No letter below 4mm height
Always resize inside the cap frame boundary tool in your digitizing software. Do not resize in your machine’s loading software. Machine software compresses stitch data without adjusting density, pull compensation, or underlay. This recreates every overflow problem you just fixed.
After resizing, re-check pull compensation. A smaller design needs lower pull compensation. The value that worked at the original size will often cause overflow again at a reduced size.
Pro Tip: After resizing, always run a physical test stitch on the same cap fabric and cap frame you will use in production. Cap panels vary in stiffness between brands a setting that works on one cap may still need small adjustments on another.
Step 4: Check the Underlay Before Final Production
Before sending to the machine, verify your underlay settings.
For structured cap fabric, use a center run underlay at 2.5mm stitch length. This gives fill stitches a solid base and stops them from sinking into the cap panel weave. Without correct underlay, fill stitches look flat and sunken on the finished cap even when they sit perfectly inside the border.
If your cap uses a softer or unstructured fabric like a knit beanie, the underlay requirement changes completely a knockdown stitch is needed instead of a center run. Our full guide on using a knockdown stitch for knit caps explains when and how to apply it correctly.
DIY Fix vs. Professional Re-Digitizing

Fixing fill stitch overflow requires professional digitizing software. You need direct control over pull compensation, stitch angle, density, and underlay for each element separately. Basic machine loading software and auto-digitizing tools do not offer these controls.
Auto-digitized files assign pull compensation and stitch direction by algorithm. That algorithm does not account for cap fabric behavior, which is why the overflow happens. Re-digitizing the file manually from scratch is often faster than diagnosing an auto-digitized file element by element.
At Sassy Digitizing, our team re-digitizes cap logos manually in Wilcom. We set pull compensation, stitch angle, density, and underlay specifically for cap fabric on every file. Visit our digitizing services page to get your cap logo fixed and production ready.
Summary
Fixing cap logo fill stitch overflow requires four steps:
- Check and lower pull compensation to 0.2mm–0.4mm for structured cap fabric
- Adjust fill stitch angle to 45 degrees relative to the nearest border edge
- Add a thin satin border outline as a final edge cleanup layer
- Resize only inside the cap frame boundary in your digitizing software never in machine loading software
- Re-check all settings after resizing values change with size
For professionally fixed and re-digitized cap logos, Sassy Digitizing handles every setting manually for clean production-ready results. Visit our digitizing services page to get started.
Frequently Asked Questions (FAQs)
1. Why are my cap embroidery fill stitches going outside the border? The most common cause is pull compensation set too high for cap fabric stiffness. Both are fixed in the digitizing software settings.
2. What is the maximum size for a cap logo embroidery design? Most structured cap front panels allow a maximum embroidery area of 2.25 inches wide by 2 inches tall. Exceeding this causes distortion and registration errors during stitching.
3. Can I resize a cap logo in my embroidery machine software? No. Resizing in machine software compresses stitch data without adjusting pull compensation, density, or underlay. Always resize inside professional digitizing software where all settings can be re-checked and corrected after the size change.
4. How do I stop fill stitches from overflowing after resizing? After resizing, re-check pull compensation it often needs to be reduced at smaller sizes. Also re-verify fill stitch angle and add a satin border outline as a final edge cleanup layer.
About the Author
Keith Blair | Senior Quality Control (HOD) Keith Blair serves as the Head of Department for Quality Control at Sassy Digitizing, bringing 12 years of commercial embroidery experience to the team. He specializes in stitch density, underlay construction, and pull and push compensation adjustments across all fabric types ensuring every digitized file is production-ready before it reaches the customer.


