When a customer sends you a logo and asks for it on a cap and a polo shirt, many people assume one digitized file works for both. It doesn’t. Cap and left chest embroidery digitizing are treated as two completely separate jobs and for good reason.
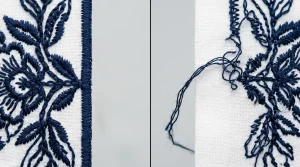
Getting this wrong means distorted stitches, a design that puckers, or a logo that simply won’t run cleanly on the machine. Before you even send a file to production, make sure your artwork is ready our guide on how to prepare artwork for embroidery digitizing walks you through it step by step.
Why You Can’t Use the Same File for Both
A baseball cap has a curved, structured surface. A shirt is flat. These two surfaces behave completely differently under an embroidery needle. The digitizing settings that make a logo look crisp on a cap will cause problems on a flat garment and vice versa.
This is one of the most common mistakes in embroidery production, and it’s 100% avoidable with proper file preparation.
What Makes Cap Digitizing Different?
Caps are one of the most technically demanding items to embroider. If you’ve ever dealt with a logo that distorts or pinches on a structured cap, our guide on why hat embroidery keeps pinching in the same place covers exactly what goes wrong and how to fix it. Here’s why cap digitizing is its own discipline:
- Curved Surface: The front panel curves, which means stitches that look straight on screen can bow or distort on the actual cap.
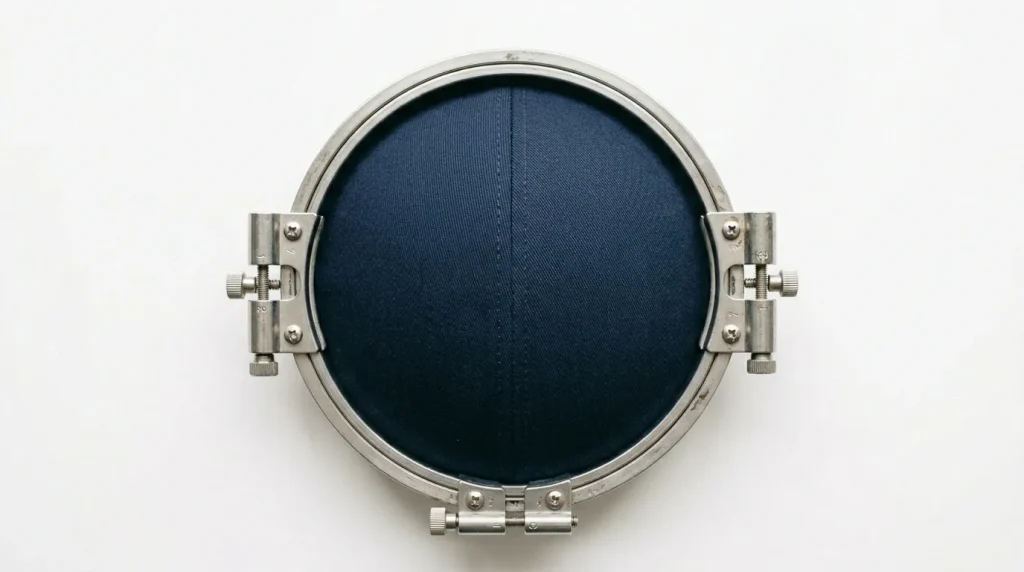
- Cap Frame/Hoop: Caps require a specialized cylindrical hoop that rotates during stitching this changes how the design sequence must be built.
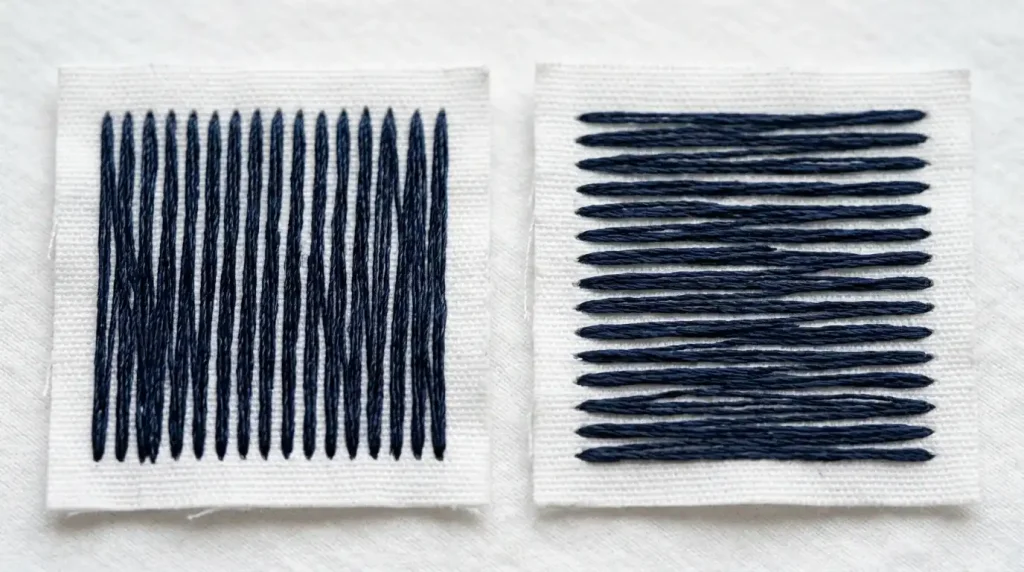
- Stitch Direction: For caps, stitches are directed outward from the center of the design to prevent the cap from pulling inward during stitching.
- Design Size: Cap embroidery typically stays within 2.25 inches tall. Width is usually 2.5 to 3.5 inches maximum.
- Density: Structured caps with buckram backing require higher underlay and slightly higher density to stitch cleanly through the stiff material.
- No Large Fill Areas: Big satin fills on a cap cause puckering. Experienced digitizers break these into smaller sections with split stitches.
For complete machine settings specific to caps, see our guide on best embroidery digitizing settings for hats and caps.
Pro Tip: If your logo has thin lettering, it often needs to be slightly thickened for cap embroidery. Small details disappear on curved surfaces.
What Makes Left Chest Digitizing Different?
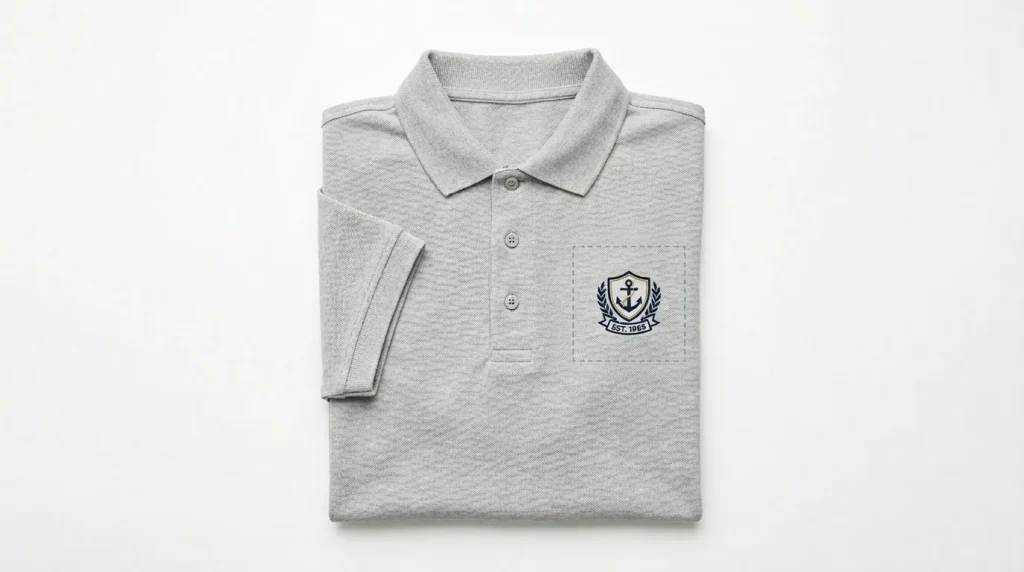
Left chest embroidery is the most common placement for corporate uniforms, polo shirts, and workwear. It’s generally more forgiving than cap digitizing, but still has its own rules:
- Flat Surface: The garment is flat and hooped flat much easier to stabilize than a cap.
- Standard Placement: The design sits 3 to 4 inches from the left shoulder seam. Standard size is 3 to 3.5 inches wide.
- Stitch Direction: Left chest designs typically use horizontal or angled stitch directions that follow the natural drape of the fabric.
- Density: Lighter fabrics like pique polo shirts need lower stitch density to prevent the garment from pulling or stiffening.
- More Design Freedom: Because the surface is flat and the hoop is stable, you can include more detail, finer text, and gradient fills compared to a cap.
If your polo shirt is puckering even with correct settings, our step-by-step guide on how to fix embroidery puckering on polyester polos covers push compensation in detail. For small text that isn’t coming out clean, see how to fix messy embroidery lettering.
Note: If your logo has very fine small text under 0.25 inches, that’s still a challenge even on flat garments. Our digitizing services include small lettering optimization as standard.
Key Differences at a Glance
Surface
- Cap: Curved, structured
- Left Chest: Flat, flexible
Hoop Type
- Cap: Cylindrical cap frame
- Left Chest: Standard flat hoop
Design Size
- Cap: Max ~2.25″ tall, 3.5″ wide
- Left Chest: Typically 3–3.5″ wide
Stitch Direction
- Cap: Radiates from center outward
- Left Chest: Horizontal or angled
Density
- Cap: Higher (buckram backing)
- Left Chest: Lower (soft fabric)
Underlay
- Cap: Heavy underlay required
- Left Chest: Standard underlay
Underlay is one of the most important variables between these two placements and the one most often ignored. Our complete underlay stitches guide explains why getting it wrong sinks your entire design.
Do You Need Two Separate Files?
Yes always. Even if the logo design is identical, a professional embroidery digitizing service will create two separate digitized files optimized for each placement.
At Sassy Digitizing, when customers order both a cap and a left chest version of the same logo, our digitizers rebuild the file from scratch for each placement adjusting underlay, stitch angle, density, and sequence separately. This is what separates a production-ready file from one that causes headaches at the machine. If you’re curious why human digitizing makes such a difference over automated tools, see our breakdown of manual digitizing vs AI auto digitizing.
Summary
Cap digitizing and left chest digitizing are not interchangeable. The curved surface of a cap demands a completely different approach from stitch direction and density to design size limits. Left chest digitizing is more flexible but still requires correct settings for the specific fabric type.
If you’re sending one logo to be used across multiple placements, always request separate files for each location. It saves time, thread, and frustration.
Need both files done right? Sassy Digitizing delivers professionally optimized embroidery files for caps, left chest, jacket backs, and more with a standard 4–6 hour turnaround. Get a free quote today.