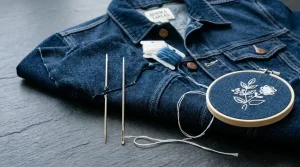
Why is my embroidery puckering? This is one of the most common questions in embroidery production. The fabric bunches and wrinkles around the design. The logo shape distorts. The garment looks damaged rather than decorated and it happened during a normal production run with no obvious errors.
Puckering is not random and it is not caused by bad luck. Every case of embroidery puckering traces back to one or more specific causes in the physical setup or the digitizing file. Fix the right cause and the puckering stops immediately on the next run.
This guide covers every cause and gives you the exact fix for each one, step by step.
What Is Embroidery Puckering?
Puckering happens when thread tension during stitching pulls the fabric inward faster than the fabric can release that tension. The fabric bunches around the design, the surrounding material wrinkles, and the finished garment looks permanently damaged around the embroidery area.
Puckering can be mild a slight gathering at the edges of a design or severe the entire logo area pulled into tight wrinkles that distort the garment shape. In both cases, the cause and the fix follow the same diagnostic process.
The Main Causes of Embroidery Puckering

Cause 1: Wrong Stabilizer for the Fabric
Using tear-away stabilizer on stretch fabric is the single most common cause of embroidery puckering. Stretch fabric bounces with every needle hit. Tear-away cannot hold stretch fabric still during stitching. The fabric moves on every stitch and the thread pulls it progressively inward creating severe puckering across the entire design area.
Cause 2: Stitch Density Too High
High density forces too many stitch rows into a given area. The thread packed into the fabric pushes the fibers apart and pulls the surrounding fabric inward. The result looks like the design is compressing the fabric around it because that is exactly what is happening.
Cause 3: Loose Hooping
Fabric that is not pulled drum-tight in the hoop has slack in it before stitching even begins. As each stitch pulls the fabric slightly inward, the slack allows visible movement. By the end of the design, the accumulated movement creates wrinkles and bunching throughout the stitched area.
Cause 4: Thread Tension Too High
High upper tension pulls the thread tight on every stitch exit. This pulls the fabric toward the needle path continuously throughout the design. The result is directional puckering wrinkles that radiate outward from the design in the direction of the stitch travel.
Cause 5: Pull Compensation Too High in the File
If pull compensation is set too high in the digitizing file, the stitch columns are wider than necessary. Wider columns mean more thread per area which means more inward pull per stitch. The effect is the same as high density but affects column elements specifically rather than fill areas.
Step-by-Step: How to Fix Embroidery Puckering
Step 1: Match the Stabilizer to Your Fabric
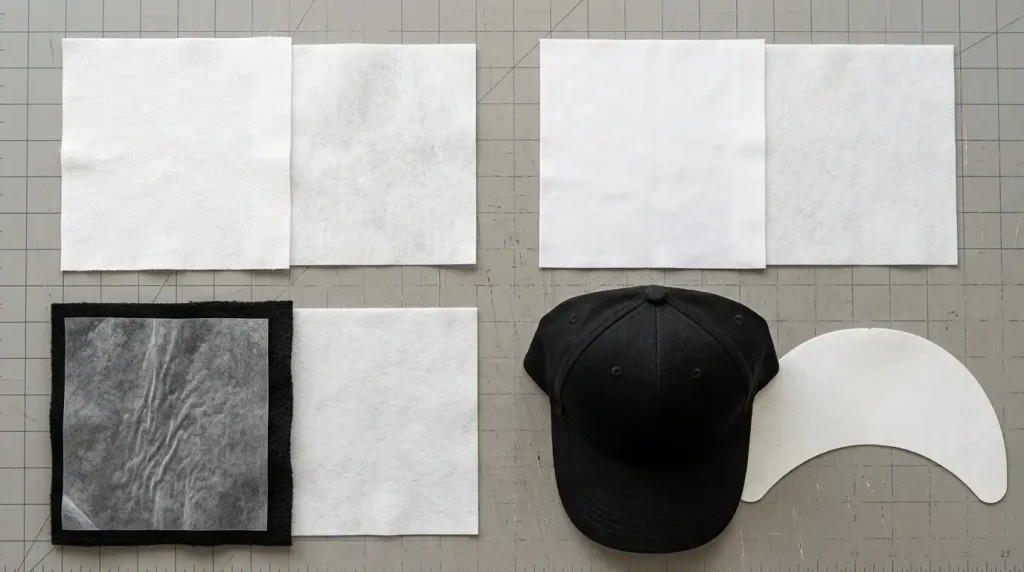
Stabilizer selection is the first thing to check when puckering appears. Change your stabilizer using these rules:
Standard woven cotton and polyester: Use medium-weight tear-away stabilizer. The woven structure is stable enough for tear-away to provide adequate support during stitching.
Stretch fabrics, performance wear, and knits: Switch to cut-away stabilizer immediately. Tear-away allows stretch fabric to bounce with every needle hit. Cut-away holds the fabric completely stable throughout the entire stitch sequence. This change alone eliminates puckering in most stretch fabric cases.
Fleece and thick fabrics: Use cut-away stabilizer beneath plus a layer of water-soluble stabilizer on top. The water-soluble layer holds the fleece pile flat during stitching so stitches sit on the surface rather than sinking into the pile.
Structured caps: Use the cap-specific backing designed for your cap frame system. Standard stabilizers do not provide the correct support for the curved cap surface.
For a detailed guide on stabilizer selection and puckering, see our article on how to fix embroidery puckering on polyester polos.
Step 2: Reduce Stitch Density

Open the digitizing file and check the density value for every fill element. Reduce density using these target values:
Standard woven fabrics: Target 0.40mm to 0.45mm. Any value below 0.40mm (meaning more stitches per mm) on standard fabric will cause puckering.
Pique polo: Target 0.38mm to 0.42mm. Pique is moderately textured and holds density slightly better than smooth fabric but still puckers at very high density.
Stretch and knit fabrics: Target 0.45mm to 0.50mm. Stretch fabric requires lower density because it compresses more under thread tension than woven fabric.
Fleece: Target 0.45mm to 0.50mm. The pile surface absorbs stitches more density is needed for coverage, but the pile also distributes tension better than flat fabric.
After reducing density, run a test stitch-out on matching scrap fabric. Check that the fill still looks solid no fabric showing through between stitch rows. If coverage gaps appear, increase density slightly until the fill is solid without causing puckering.
Step 3: Re-Hoop Drum-Tight
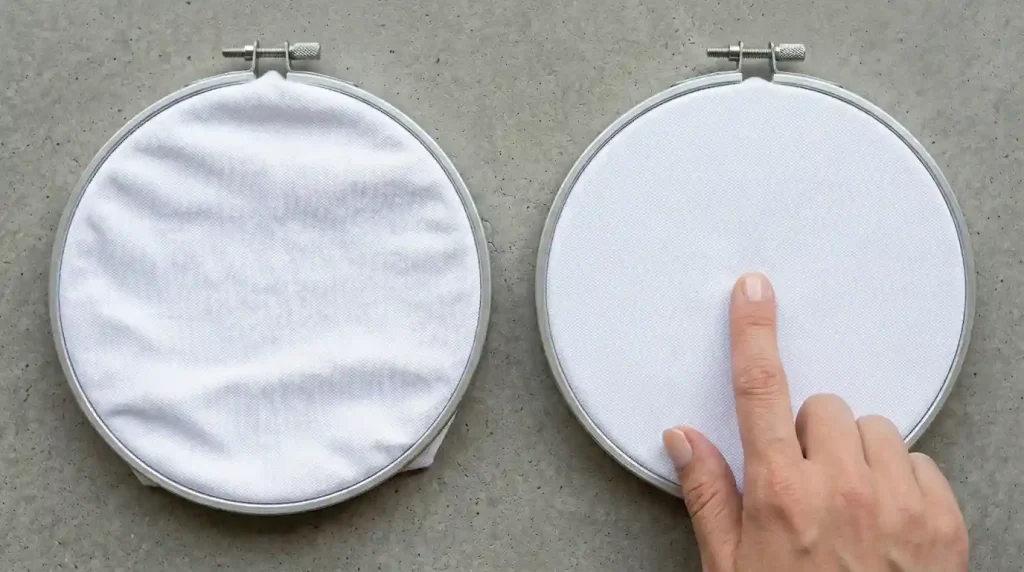
Remove the fabric from the hoop and re-hoop from scratch. Follow this process:
Pull fabric taut in all four directions before tightening the hoop screw. This is the most important step. Most operators tighten the screw first and then try to adjust tension this approach never achieves proper drum-tight tension.
Test by pressing the center. After hooping, press lightly on the center of the fabric. There should be absolutely no give. If the fabric moves at all, the hooping is too loose.
Tug each edge after hooping. If the fabric shifts position in the hoop at all when tugged from any edge, remove and re-hoop tighter. This test takes fifteen seconds and eliminates hooping-related puckering on every run.
Use a hoop size that matches the design. Hooping a small design in a large hoop leaves too much unsupported fabric between the design and the hoop edge. Use the smallest hoop that fits the design comfortably with at least 20mm of clearance around all sides.
Step 4: Reduce Thread Tension
If puckering radiates directionally from the design wrinkles that all point in the same direction thread tension is the primary cause. Fix tension in this order:
Reduce upper tension by one step. Do this on a scrap fabric test never adjust tension mid-production-run. Stitch a test after each adjustment before reducing further.
Check the back of the test piece. The bobbin thread should be just barely visible as a thin line at the very edge of each column. If the bobbin thread is pulling heavily to the top surface, upper tension is still too high. Reduce by another half step and retest.
Check the needle. A slightly bent needle causes directional thread pull that looks identical to high tension puckering. Replace the needle before making further tension adjustments. A fresh needle often resolves directional puckering without any tension change at all.
Check the bobbin case for lint. Lint buildup in the bobbin case creates uneven tension that varies stitch by stitch. Clean the bobbin case thoroughly before every production run.
Step 5: Check Pull Compensation in the File
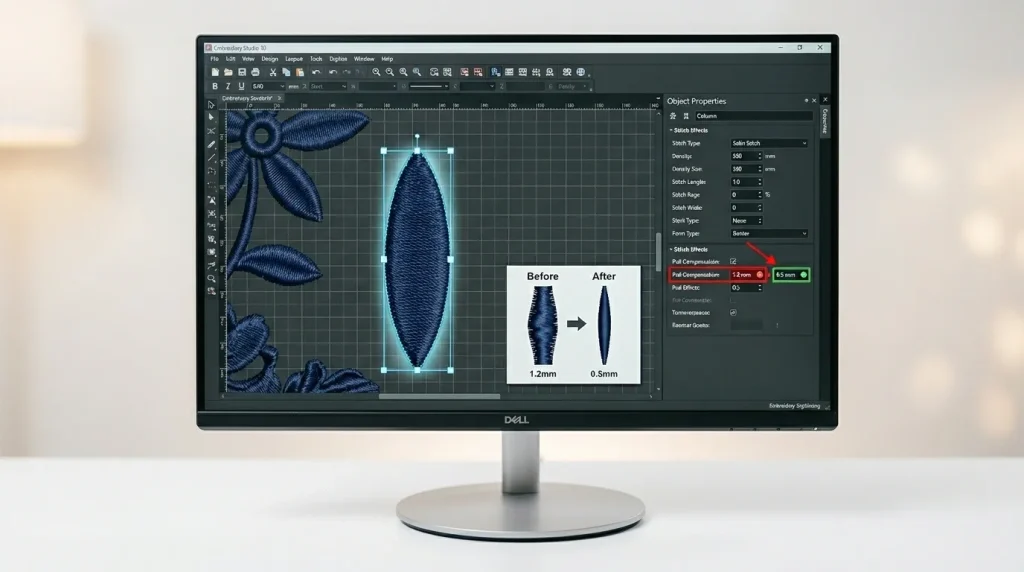
Open the digitizing file and check pull compensation on every column and fill element. Correct pull compensation using these values:
Standard woven fabrics: 0.4mm to 0.6mm. Any value above 0.8mm on standard woven fabric is too high and will contribute to puckering.
Stretch fabrics: 0.8mm to 1.2mm. Stretch fabric needs higher pull compensation to account for its greater movement but values above 1.5mm will cause puckering even on stretch fabric.
Caps: 0.6mm to 1.0mm. Cap frame resistance needs moderate pull compensation but overcorrecting causes the same puckering problem as on flat-hooped fabric.
Reduce pull compensation by 0.1mm increments and retest after each change. Do not reduce by large amounts at once this risks introducing misalignment to fix puckering.
For a full guide on pull compensation and its effect on embroidery quality, read our article on how to fix embroidery puckering using full underlay and bottom-to-top stitching.
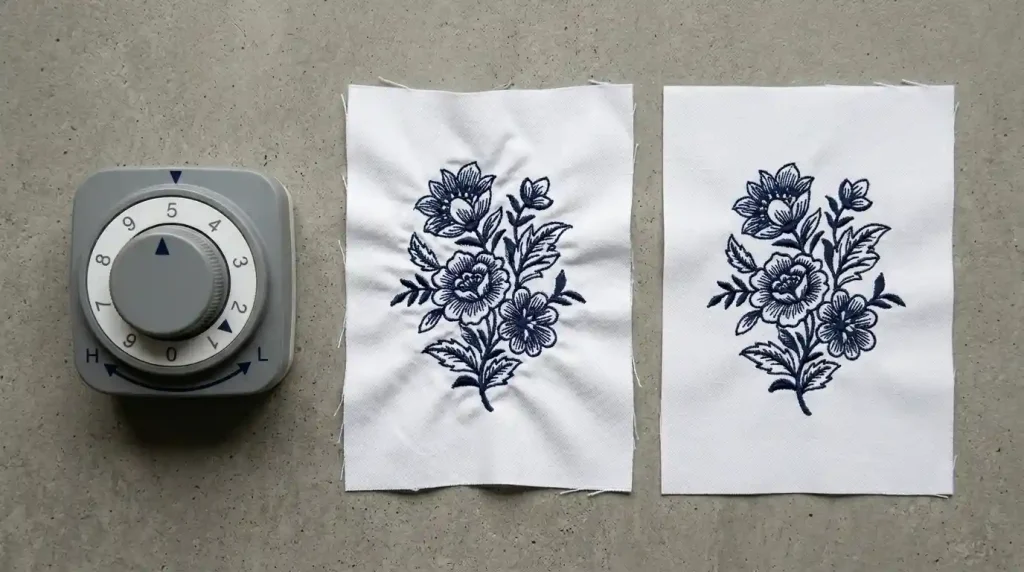
Step 6: Run a Test and Confirm Puckering Is Resolved
After making all adjustments, stitch a complete test on the exact fabric and stabilizer combination you will use for the production run.
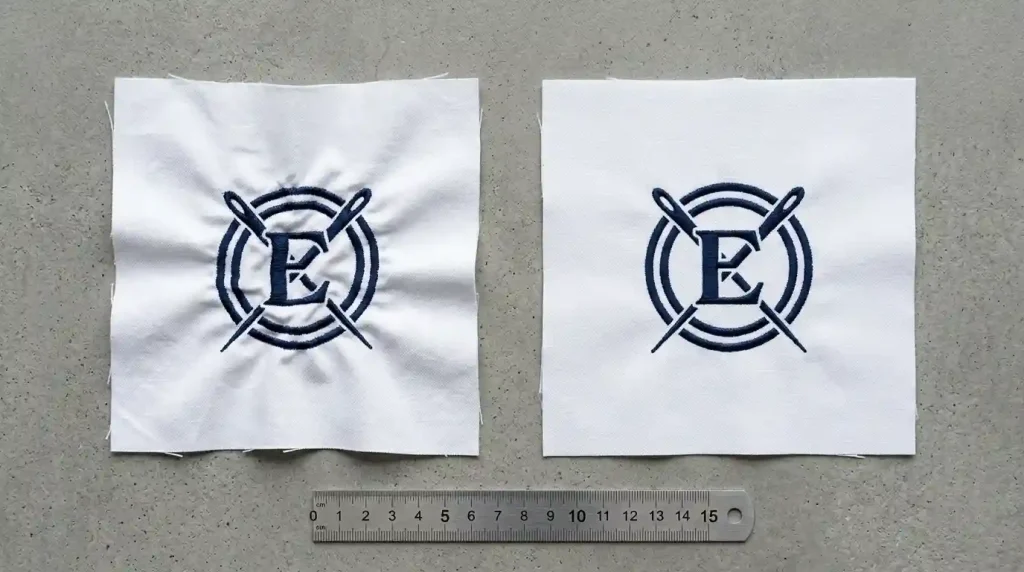
Inspect the fabric around the design. Place the test piece on a flat surface and look at the fabric surrounding the logo. There should be absolutely no wrinkles, gathering, or raised fabric around any part of the design. Any remaining puckering means one of the causes above is not fully resolved.
Check the design shape. A puckered design is also a distorted design the logo shape compresses and loses proportion. On the fixed version, the logo should match the designed dimensions when measured with a ruler.
Check front and back. Turn the test piece over and look at the back. Puckering that is not fully visible on the front often shows as raised, uneven fabric on the back. A flat result on the back means the fabric is sitting correctly throughout the stitch sequence.
Approve and run the production batch only after the test piece shows no puckering on either side and the design shape matches the intended dimensions.
When Puckering Persists After Every Fix
In some cases, puckering persists even after correcting the stabilizer, density, hooping, tension, and pull compensation. This means the digitizing file has structural problems that go beyond simple settings adjustments. Common structural causes include incorrect stitch sequencing, wrong stitch direction angles, or fill paths that create excessive fabric tension in specific areas.
At Sassy Digitizing, every file is built with correct density, proper underlay, and tested stitch sequencing specifically to prevent puckering before the file reaches your machine. For files that need structural correction, we also offer file edits and full rebuilds. Visit our digitizing services or contact us for a free quote.
Quick Fix Checklist
- ✅ Stabilizer matched to fabric (cut-away for stretch, tear-away for woven)
- ✅ Density corrected to fabric-appropriate value (0.40mm–0.50mm)
- ✅ Fabric hooped drum-tight zero give when pressed at center
- ✅ Fabric does not shift when tugged from any edge
- ✅ Upper tension reduced and tested on scrap fabric
- ✅ Needle replaced before production run
- ✅ Bobbin case cleaned before production run
- ✅ Pull compensation checked and corrected in digitizing file
- ✅ Test stitch-out run on matching fabric
- ✅ Fabric flat on front and back design shape matches dimensions
Summary
Why is my embroidery puckering? The answer is always one of five causes wrong stabilizer, high density, loose hooping, high tension, or excessive pull compensation. Work through these six steps in order and the puckering stops. Most cases resolve after fixing just one or two of these causes.
For puckering that persists after every physical adjustment, the digitizing file needs structural correction. Sassy Digitizing builds every file to prevent puckering from the start correct density, proper underlay, and tested stitch angles for your specific fabric and garment.
About the Author
Keith Blair | Senior Quality Control (HOD) Keith Blair serves as Head of Department for Quality Control at Sassy Digitizing, with 12 years of commercial embroidery experience. He specializes in puckering diagnosis, stabilizer selection, density correction, and file-level structural fixes across all fabric types.